
How To Fix The Problem Flex Cables On The LCD?

Forward Lab
June 21, 2022
Difficulty
★★★ High
Step
10
Required Time
30 minutes
Excerpt
And we decided to take it as an example and show you how to press the new flex cables on the LCD by the flex cable bonding machine.
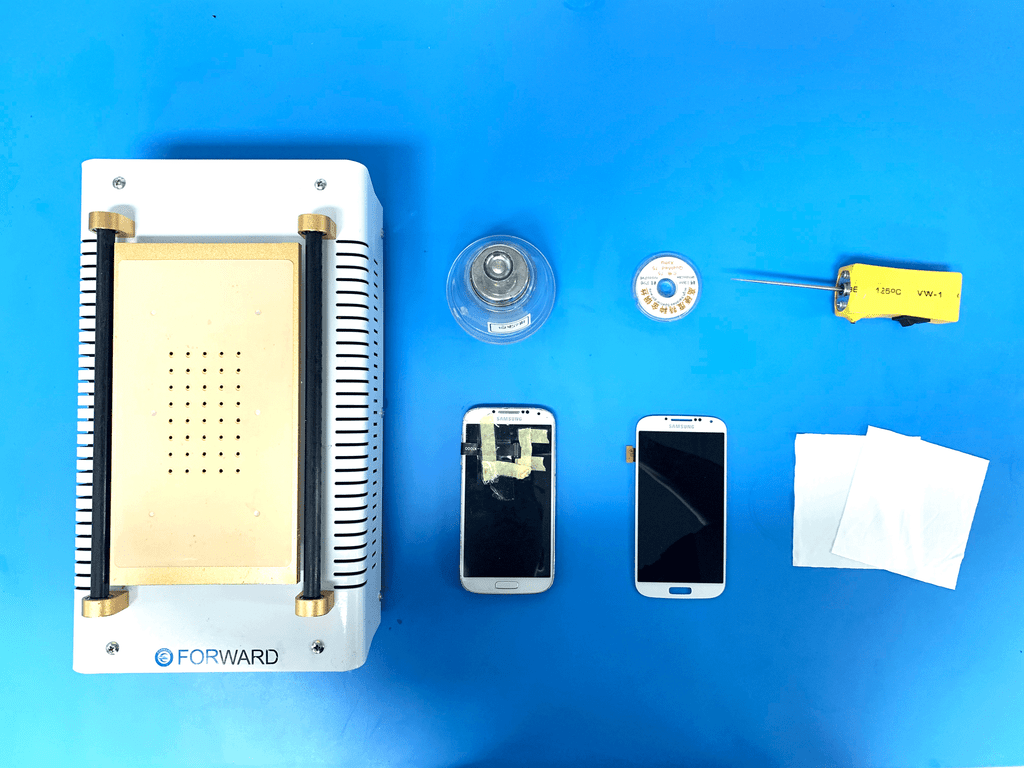
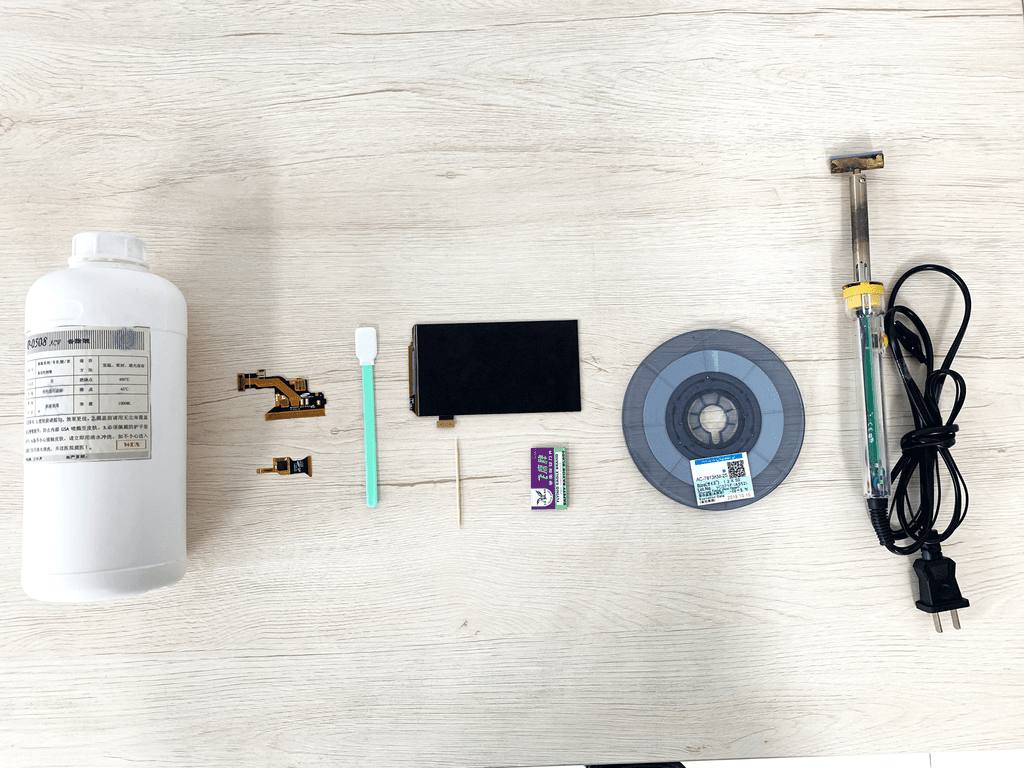
Accessories
flex cable bonding machine, AC glue, screen separator, white oil, separator wire, glue removing tool, dustless clothe, new flex cables, T-head soldering iron, toothpicks, blade
It’s lucky that we found a screen, but we didn’t know the screen was working well or not? So we tested the screen. According to the test result, we thought that there were some problems with the flex cables.
And we decided to take it as an example and show you how to press the new flex cables on the LCD by the flex cable bonding machine.
If you need to get some original quality new samsung flex cables, you can visit below links:
LCD Display Test Touch Screen Extension Tester+Touch Flex Cable For Samsung E/G/C/M/N series repair
Now let’s move on.

Screen Testing
The first thing we have to do is to test the screen.
Then we prepare some tools and materials to restore the flex cables.
Glass Separating Tools Prepare
Before we laminate the flex cable, we had better do some prepare jobs in advance. We need to prepare the tools in the picture for the glass separating.
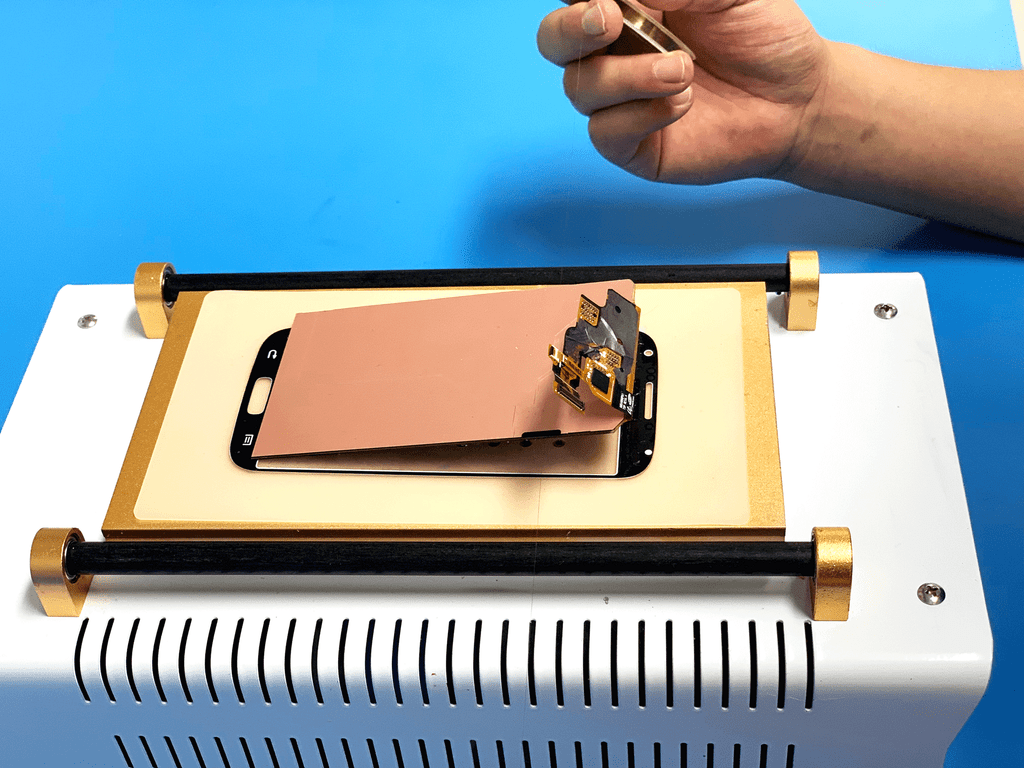
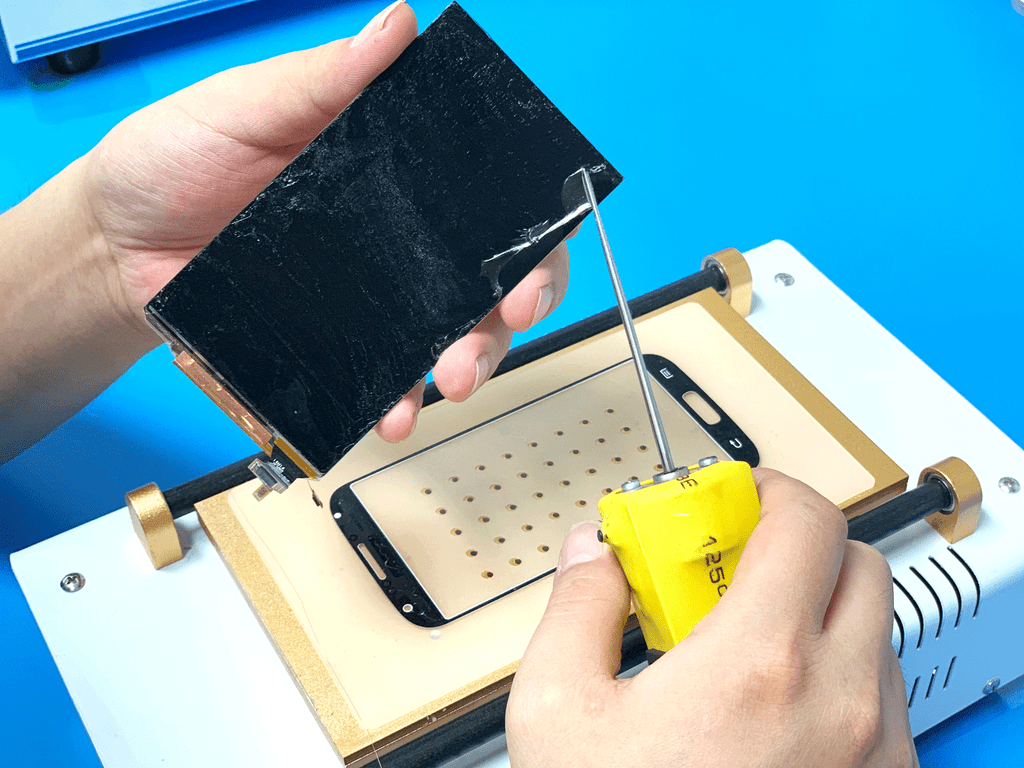
Glass Separating
For this step, we put the screen on the heating platform under 80℃ and then separate the glass with a separator wire.
If you need to buy some separator wires, you can visit this website:
Glue Removing
Once the glass separation is finished, we continued to remove the glue with a yellow remove glue tool.
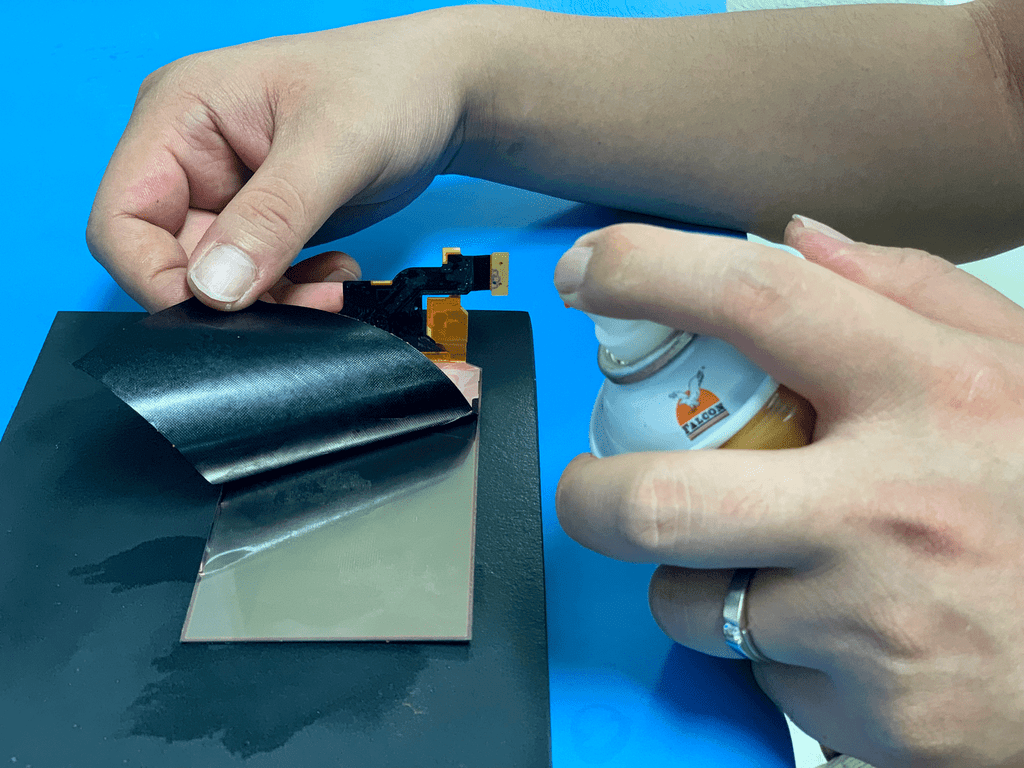
Back Sticker Removing
After removing the glue, we tear off the back sticker with our hands when spraying the glue cleaner.
Remove & Laminate Flex Cable Tools Prepare
Once done, the next step is to prepare tools and materials in the picture in advance for removing the problem flex cables and laminating the new flex cables on the LCD.
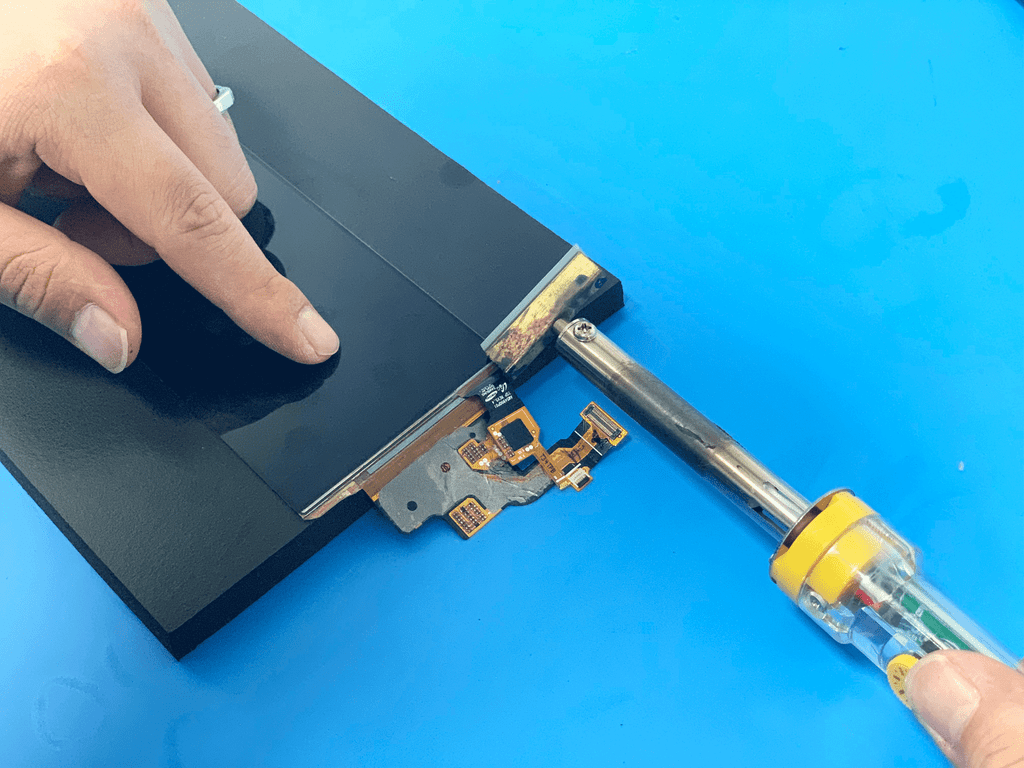
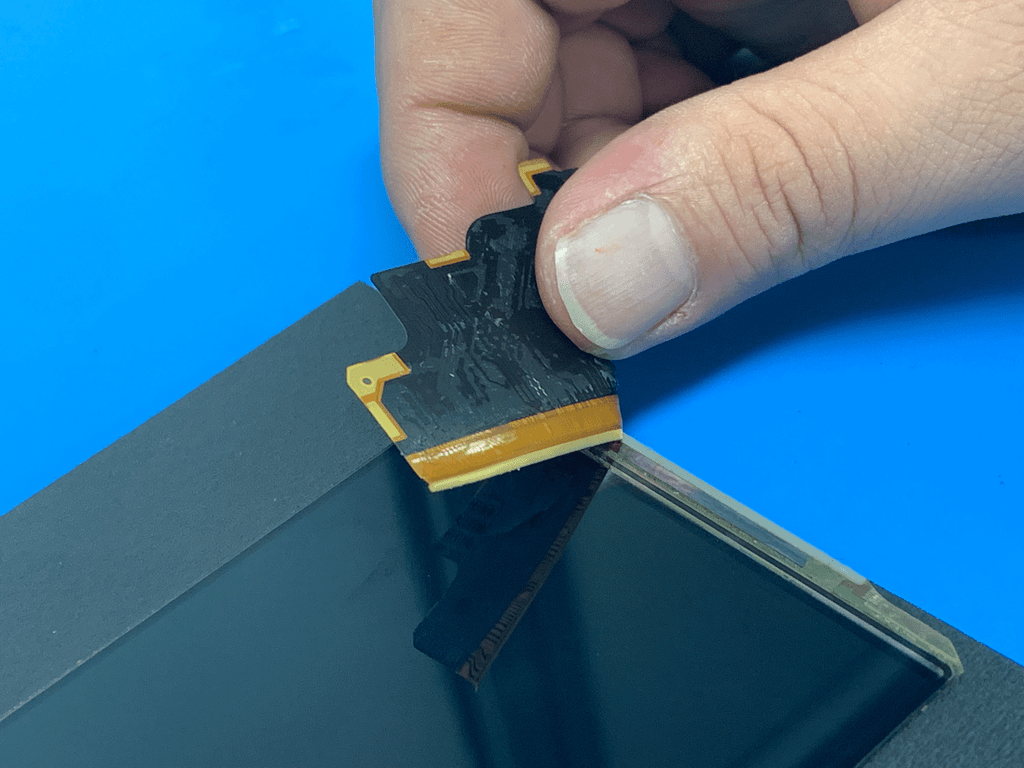
Flex Cable Removing
Once finish the prepared job, we begin to dismantle the flex cable with T-head soldering iron carefully.
Warm tips:
1. When the temperature of the soldering iron reaches to 150℃ to 180℃, we can begin to discharge the flex cable.
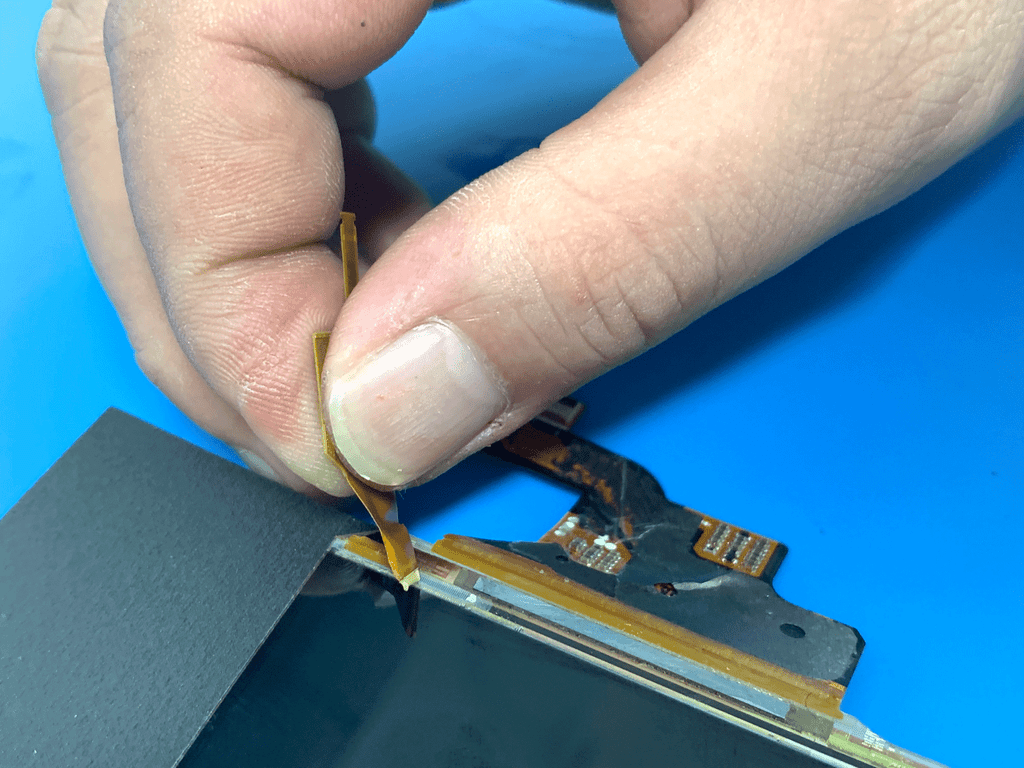
2. Use the T-head to heat the flex cable position while slowly tearing it off with the other hand.

ACF Adhesive Removing
After the flex cable removing, we cut toothpicks into glue remove tools with a single-edge blade.
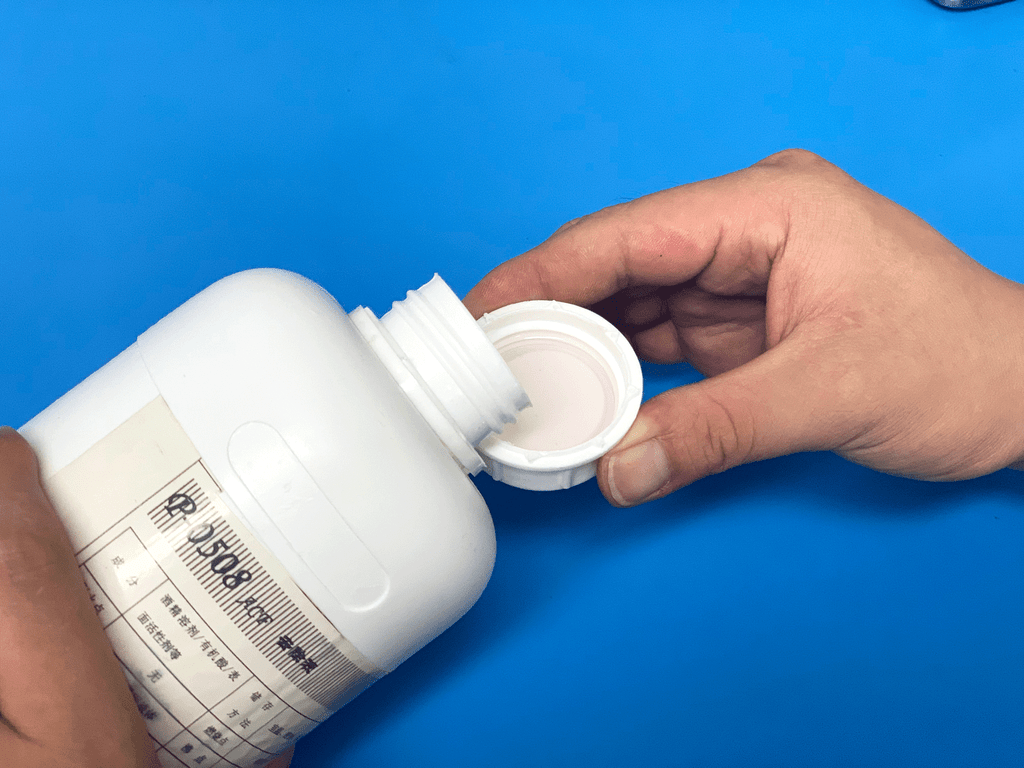
Then we pour out the ACF adhesive remover into the cap.
Warm tips:
Please be careful that the ACF adhesive remover has strong corrosiveness. You’d better wear protective gloves during this process.
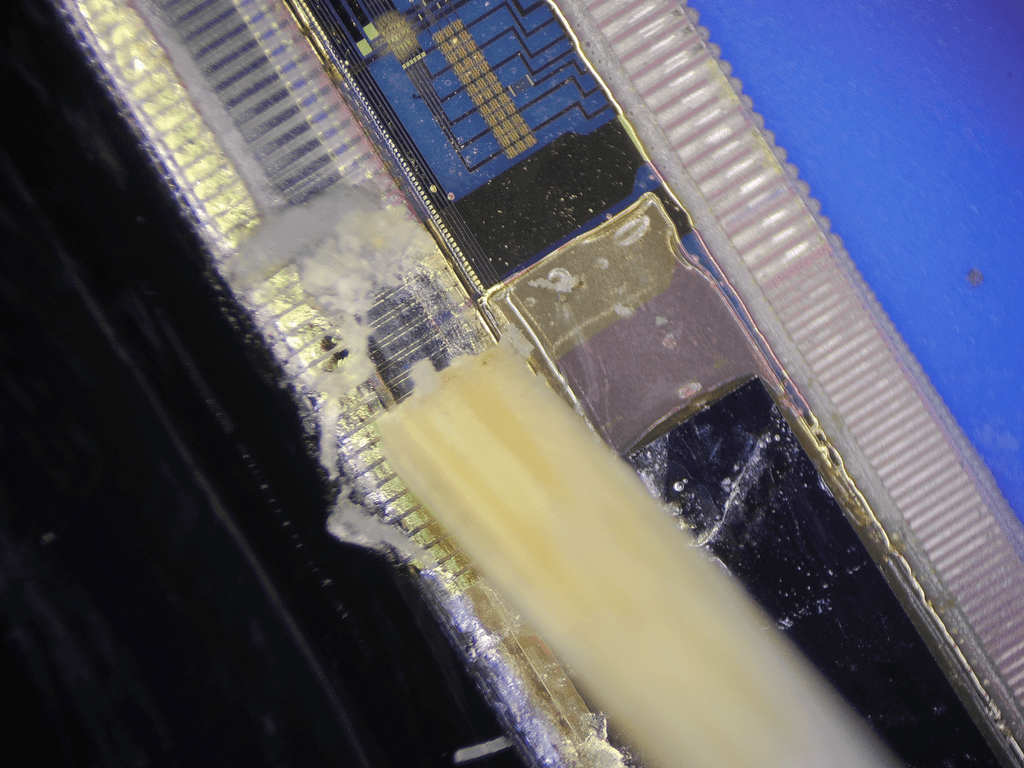
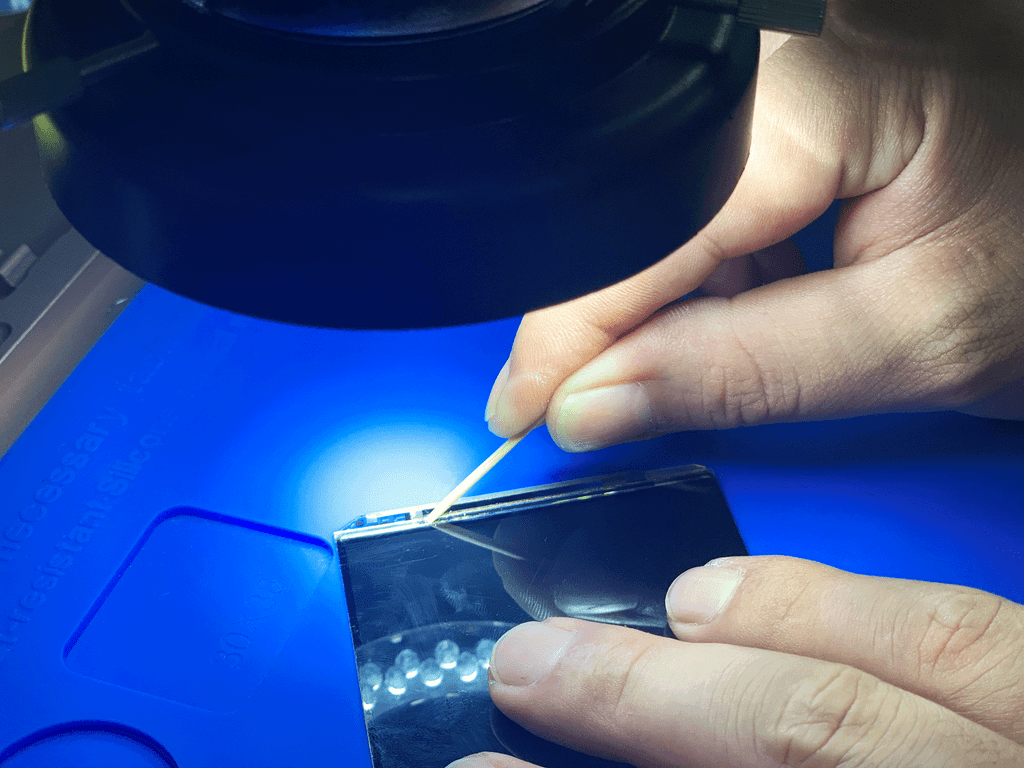
After that, we use a toothpick with the ACF glue remover to remove the glue on the LCD.
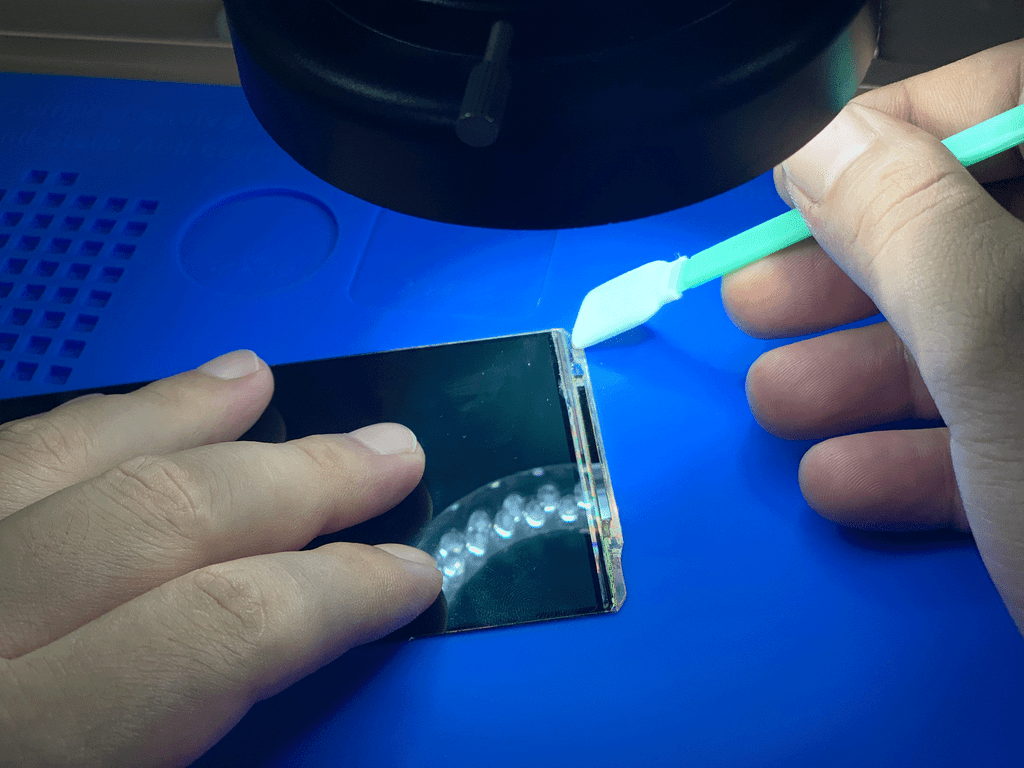
Once done, clean the welding position of the flex cable with a cotton bud and white oil.
New Flex Cable Laminating
The next part is laminating the new display and touch flex cables on the LCD. We stick the new ACF adhesive to the display and touch flex cables at first.

After that, press the ACF adhesive down to the flex cables with the soldering iron.
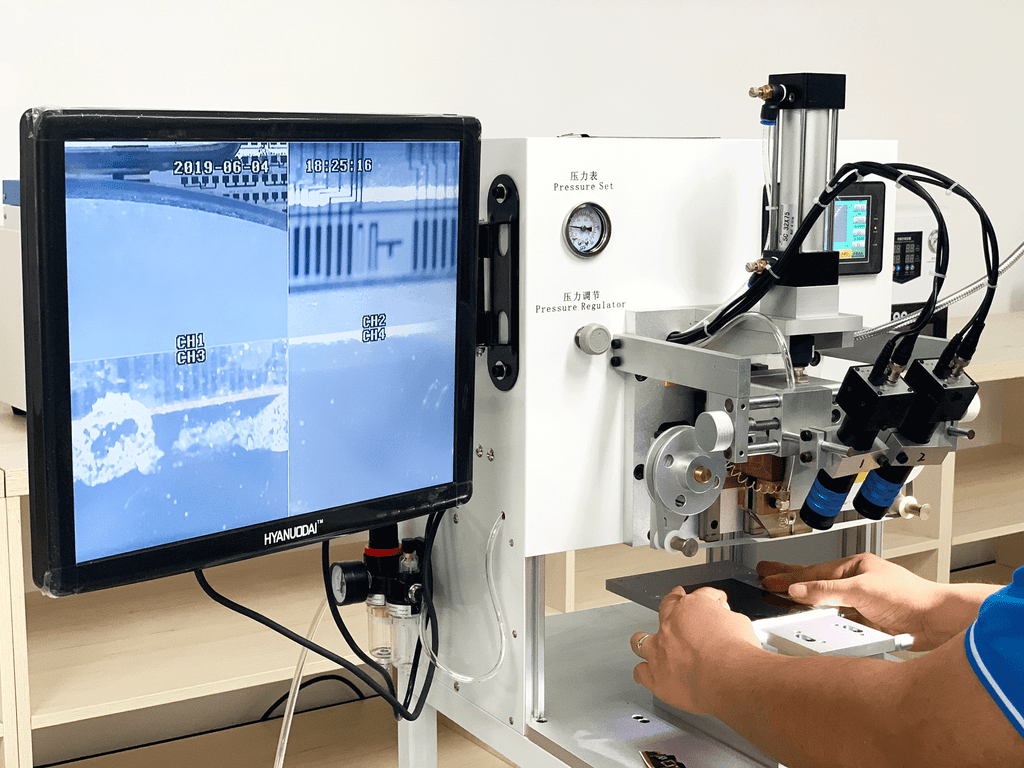
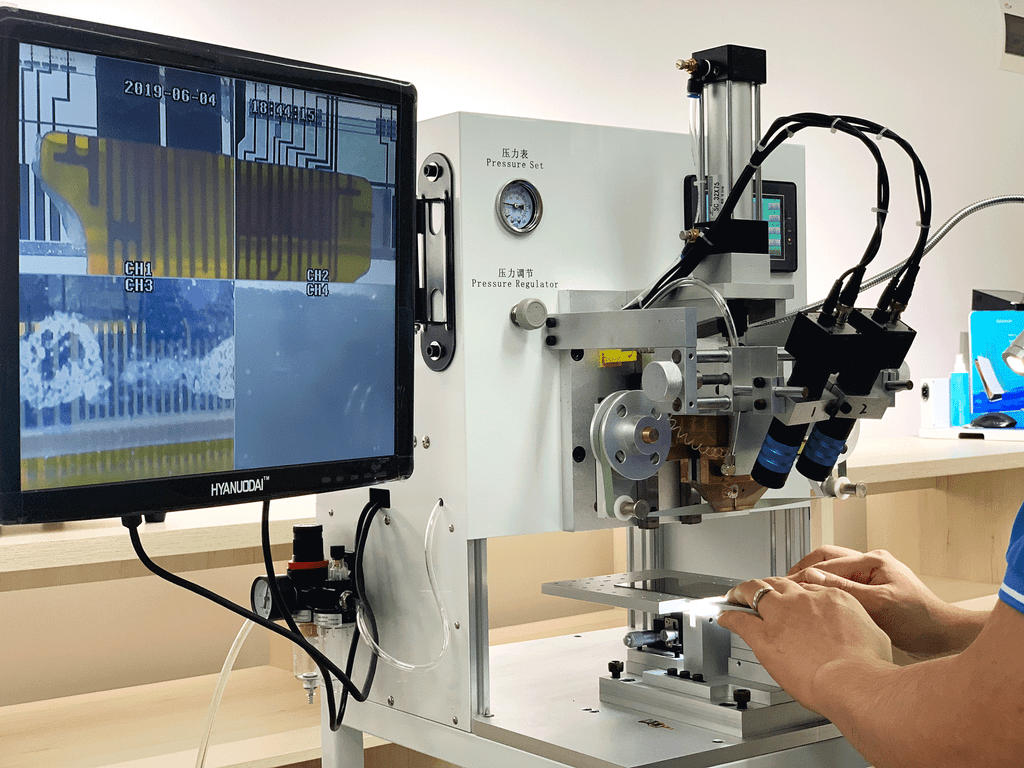
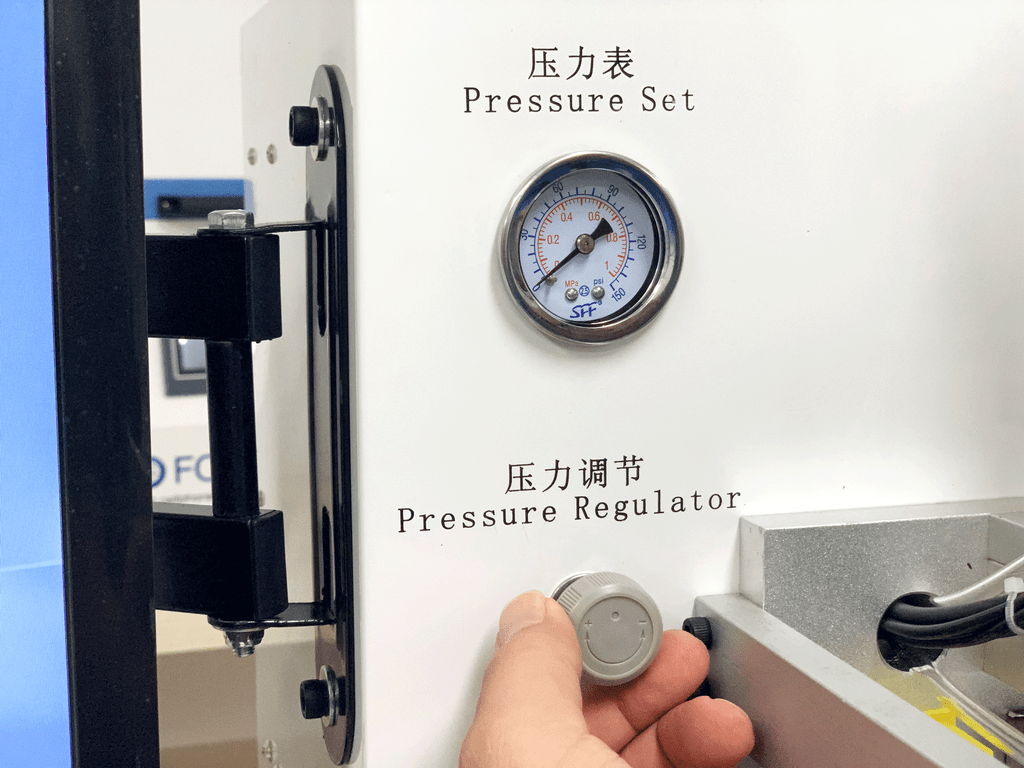
Once done, we place the LCD on the pressing area of the flex cable bonding machine.
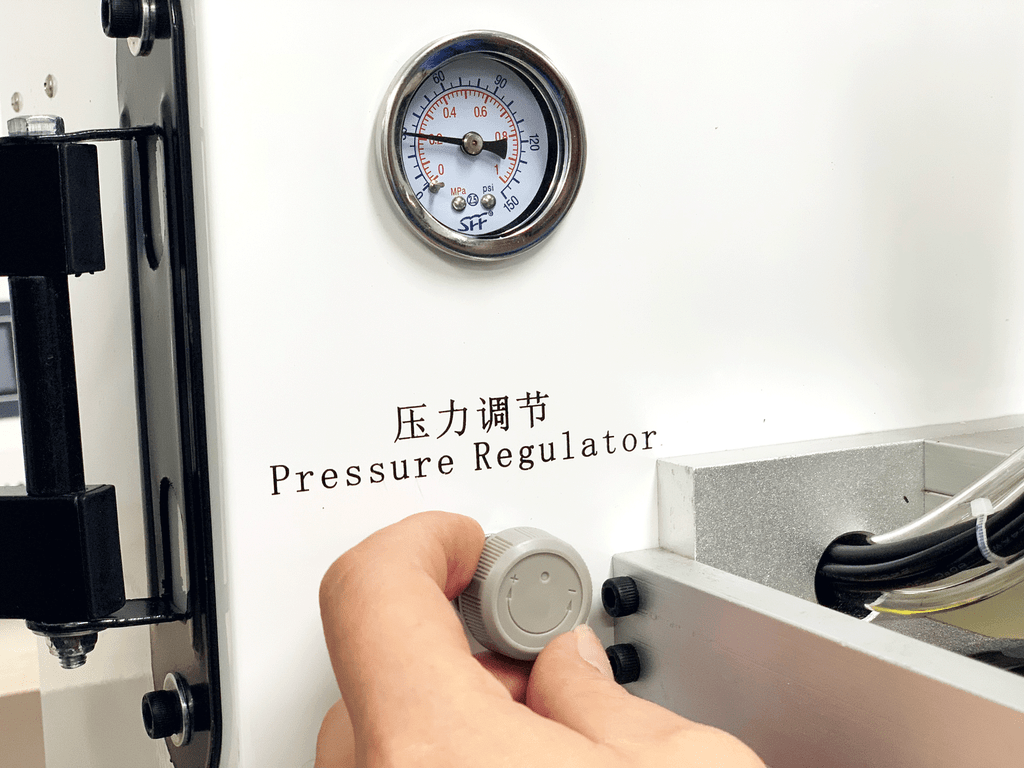
Then we adjust the pressure value to 0.
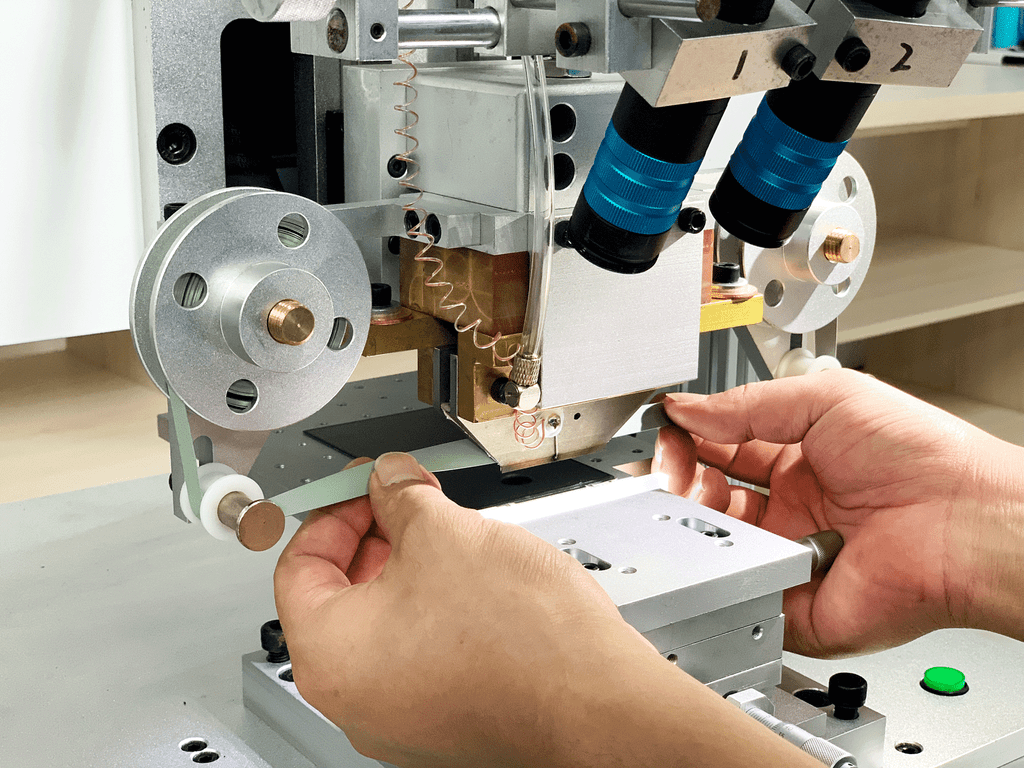
Once we adjust the pressure to 0, the cutter head would fall down automatically.
At this time, press the cutter head down to the right position with our hands.
Then align the LCD.
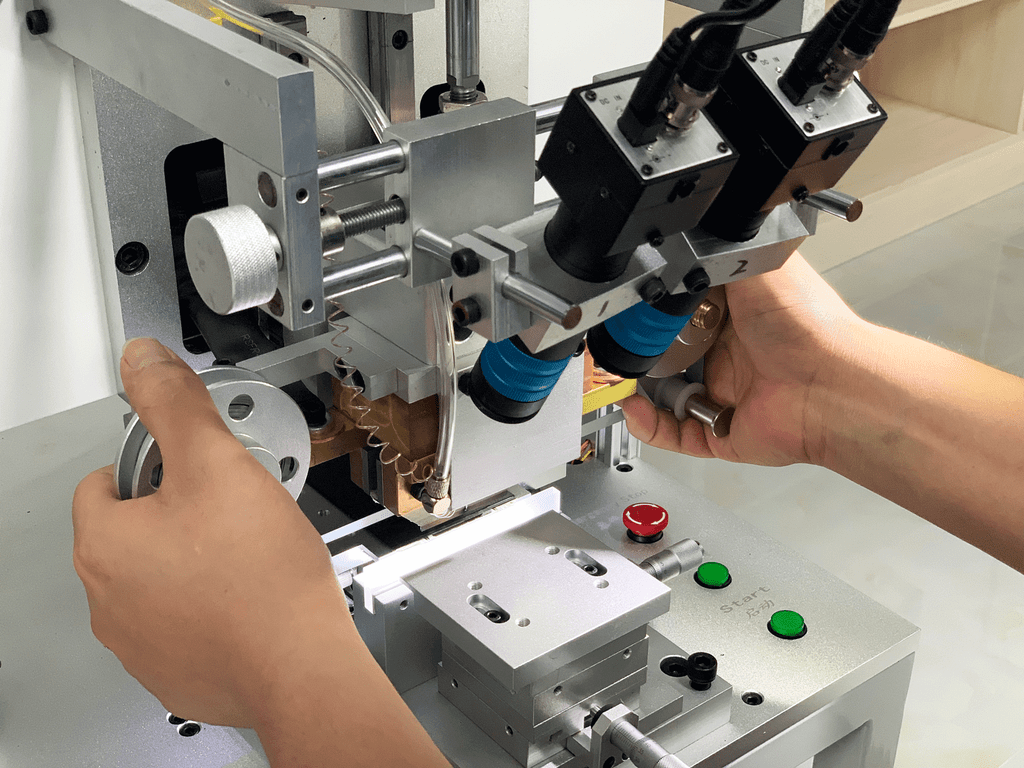
After that, press the vacuum button and absorb the LCD tightly.
We continue to adjust the pressure value to 2.
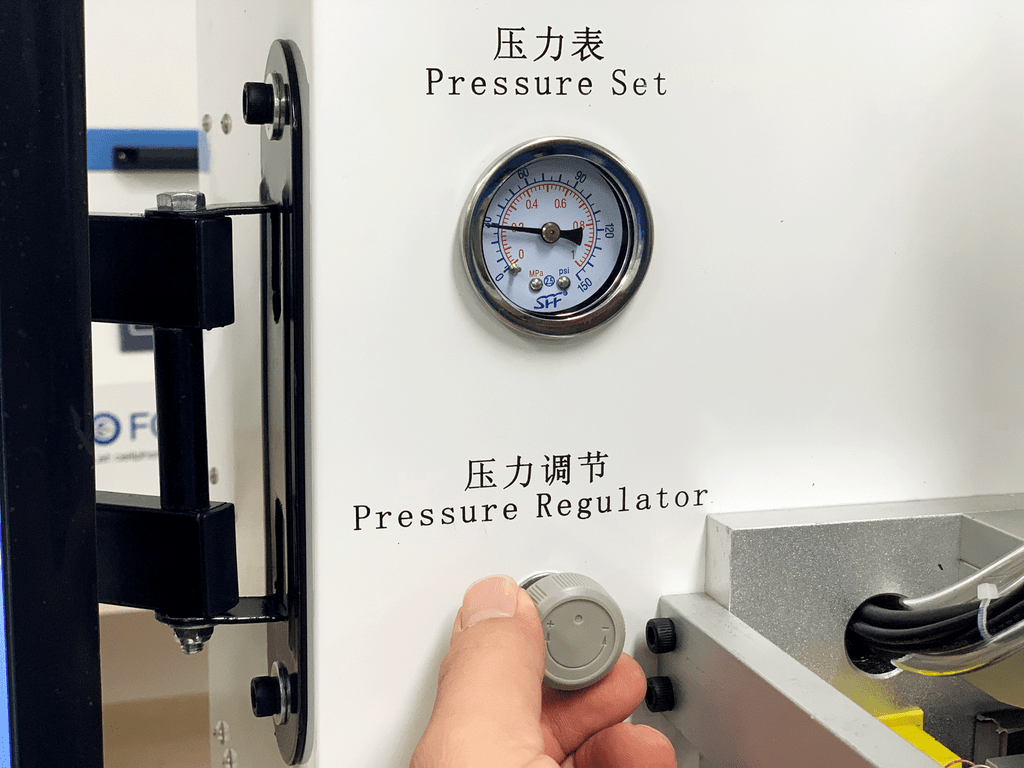
After we adjust the pressure to 2, the cutter head would rise up automatically.
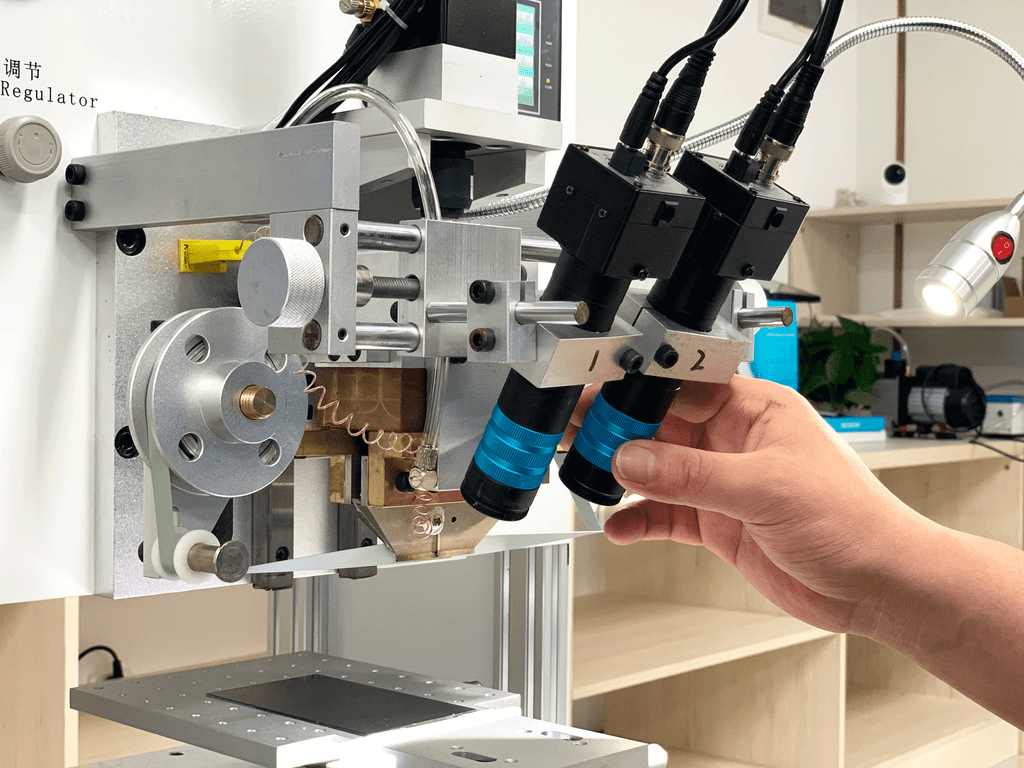
After that, we adjust the working distance of the microscope.
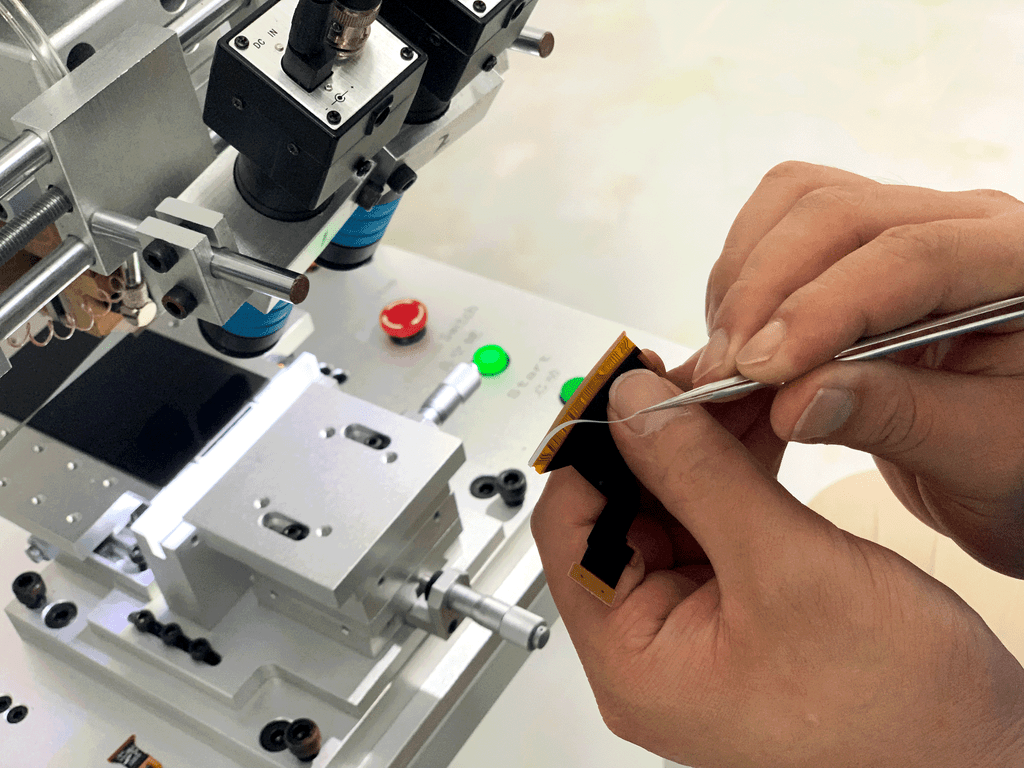
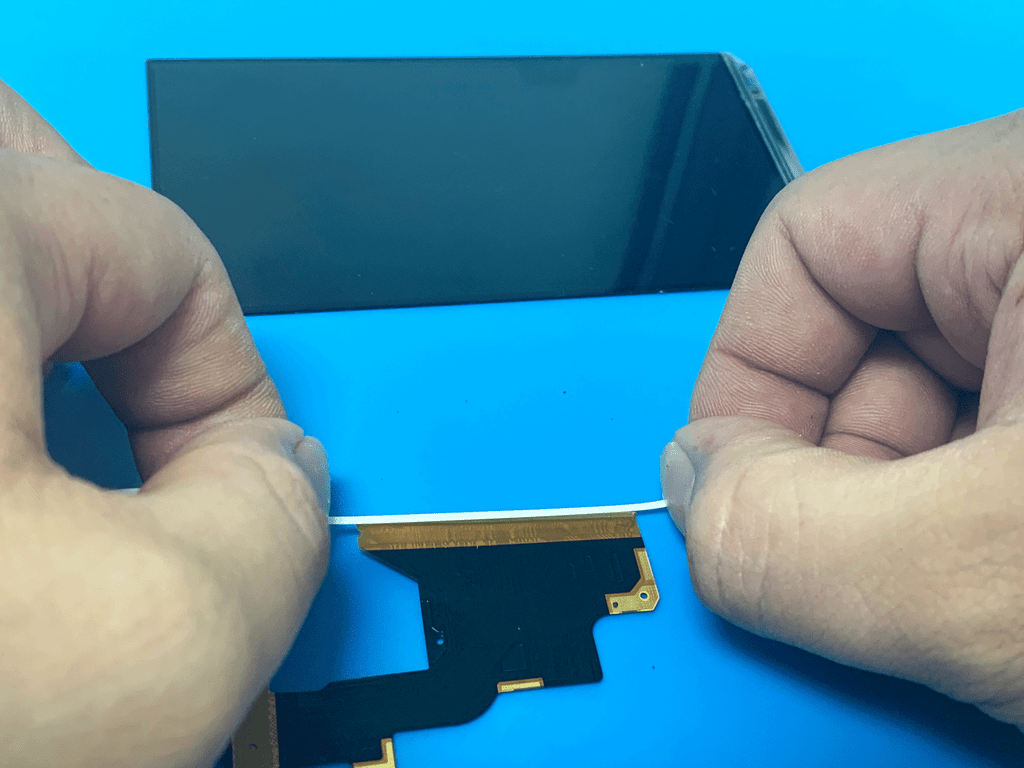
Once done, tear off the protective film of the ACF with a tweezers.
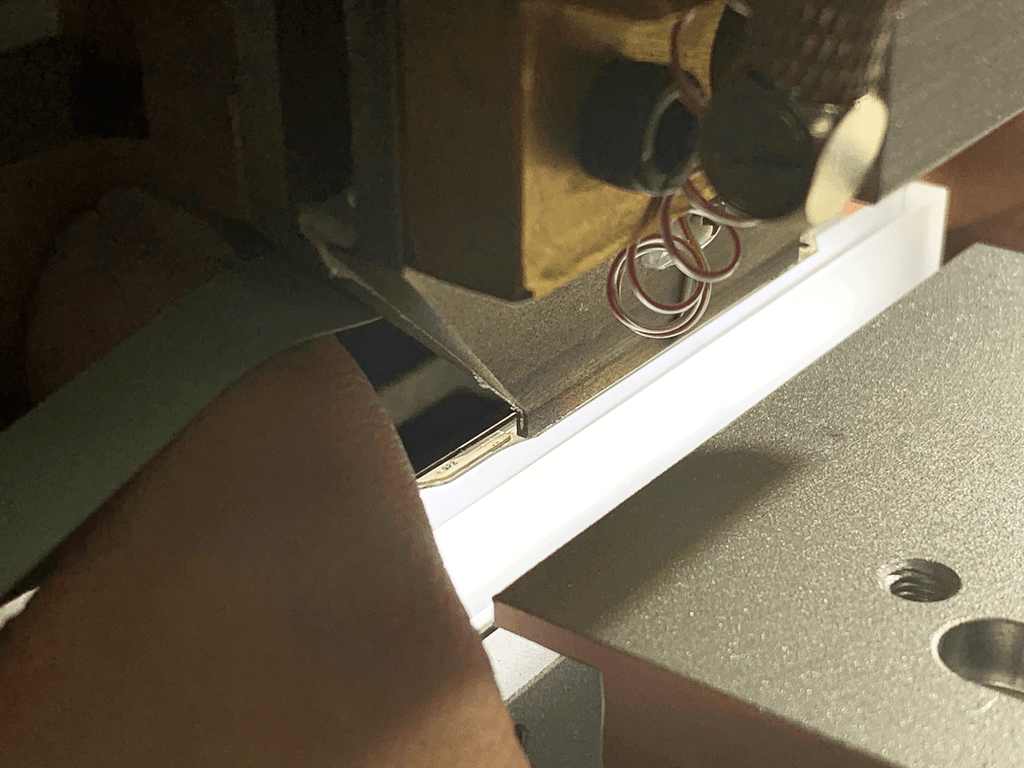
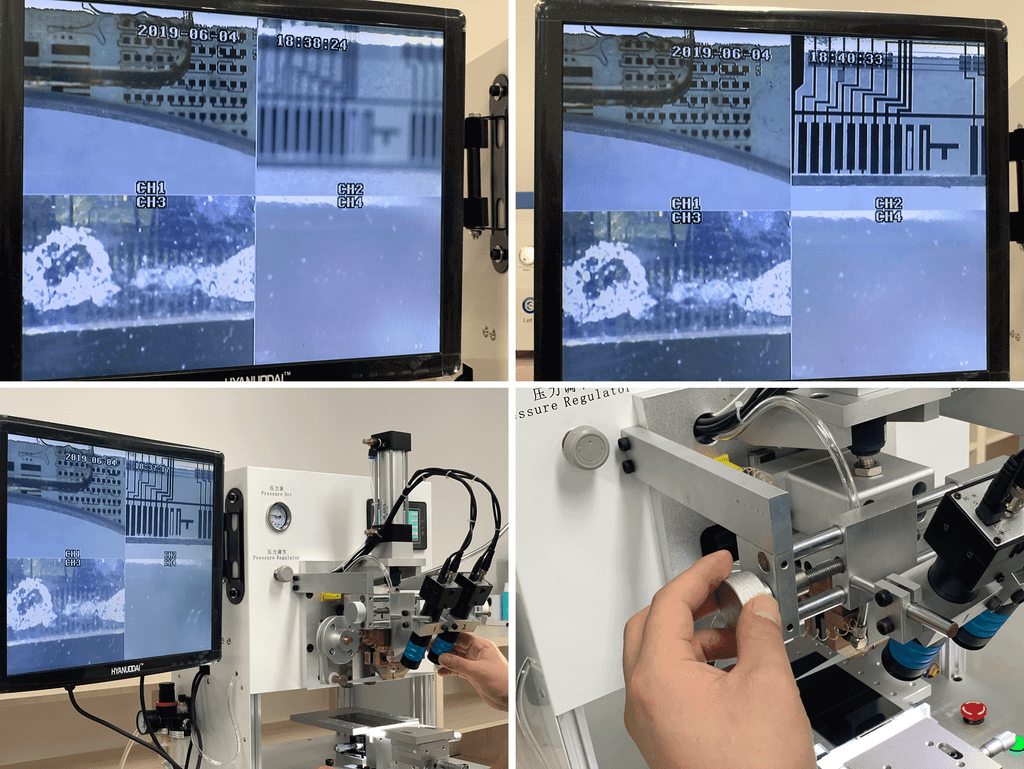
Then put the new flex cables on the LCD and calibrate the position.
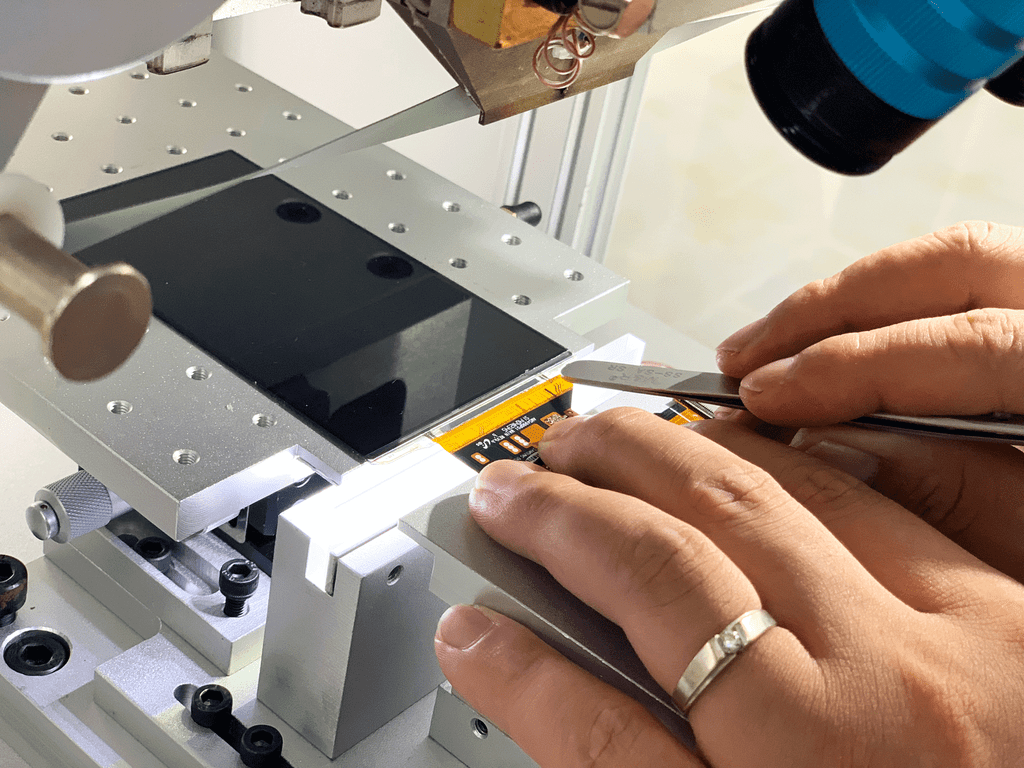
After the alignment, press the flex cable slightly and fix it on the LCD with tools.
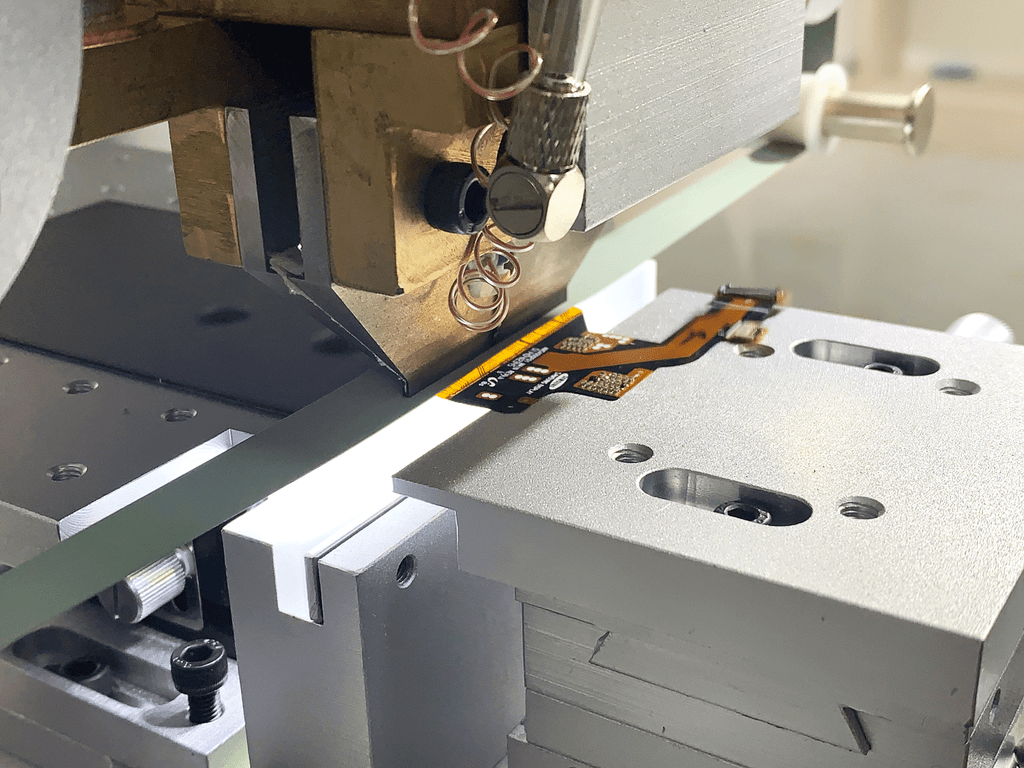
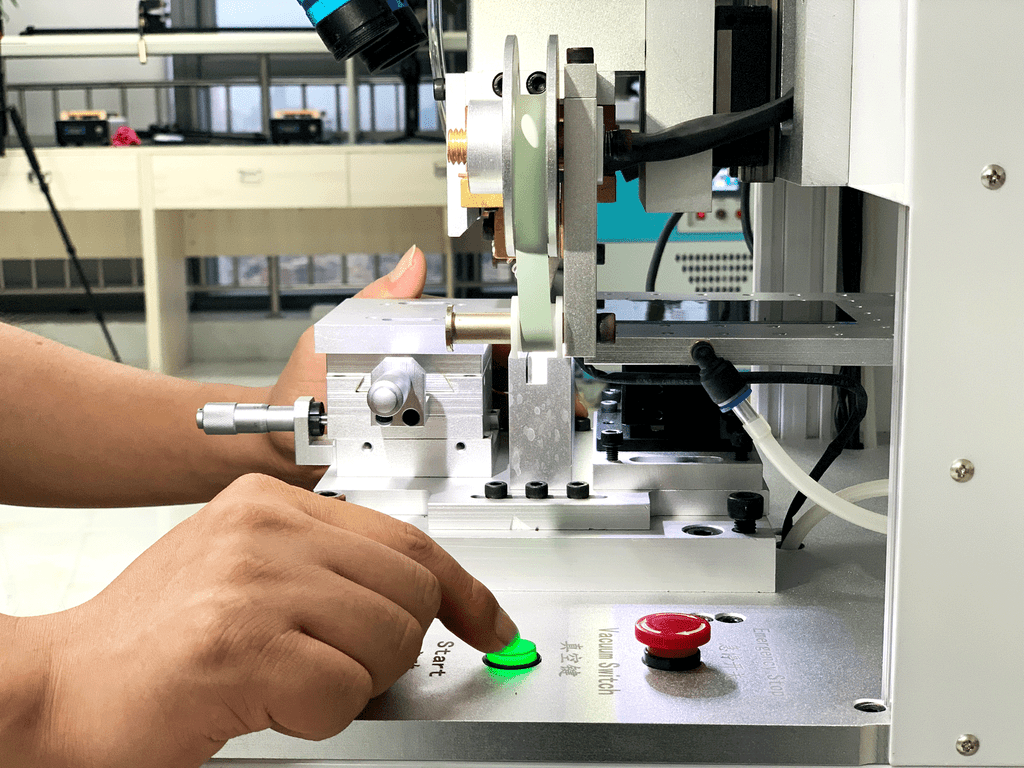
Once done, press the start button, the machine starts to laminate the flex cables.
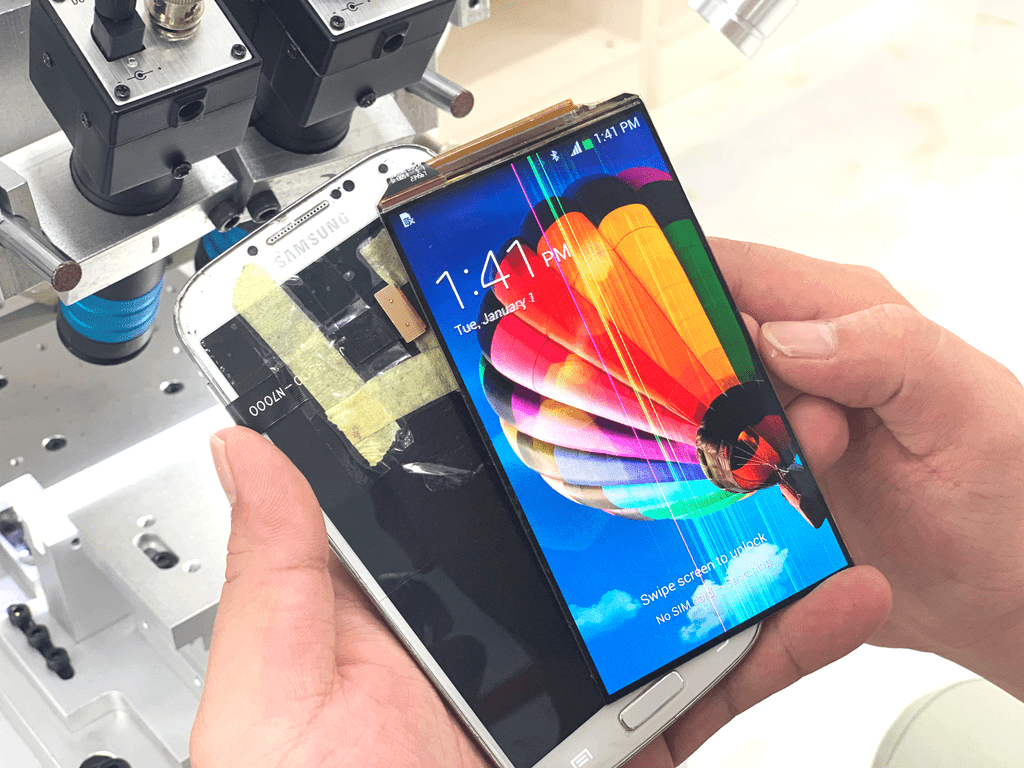
Repaired Screen Testing
After the flex cable pressing, we test the screen finally.
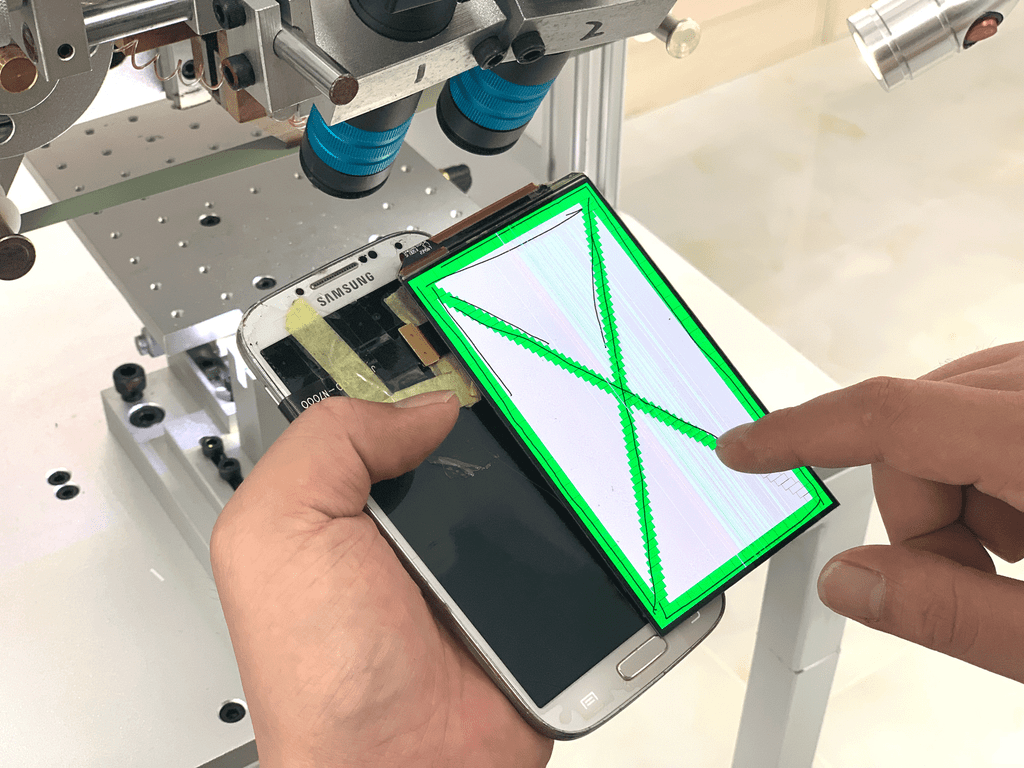
To see if there are any miracles. Hahaha……
That’s all. Don’t you think that it is easy for you to operate? We think that this machine would be one of your excellent helpers for the mobile phone repair.
For further information, please contact us directly.
hola , tengo una maquina de esas y necesito saber
cuales modelos y marcas puedo hacer
y cuales son los liquidos que se usa para limpiar
saludos