
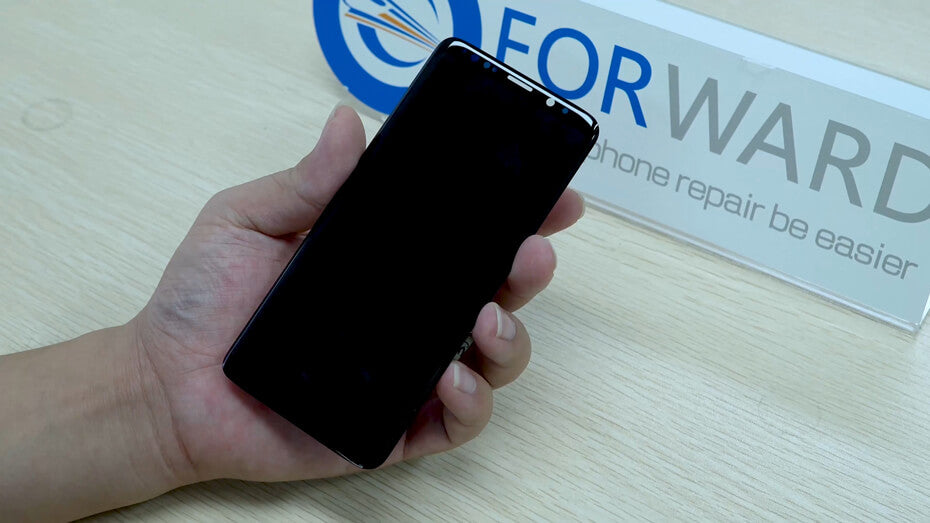
How To Repair S9 Broken Display: The Laminating Guide

Forward Lab
June 21, 2022
Difficulty
★☆☆ Low
Step
14
Required Time
15 minutes
Excerpt
This guide will show you a good method with you so that you can separate Samsung S9 and restore it with OCA laminating machine and frozen machine successfully.
Accessories
manual separator machine, dustless cloth, glue remover device, white oil, tweezers, frozen machine, poker card, anti-cold gloves, new OCA, S9 edge laminating molds, RMB-2 OCA lamination machine, new glass
This guide will show you a good method with you so that you can separate Samsung S9 and restore it with OCA laminating machine and frozen machine successfully.
The glass we have separated with the frozen machine before. Let’s get started.
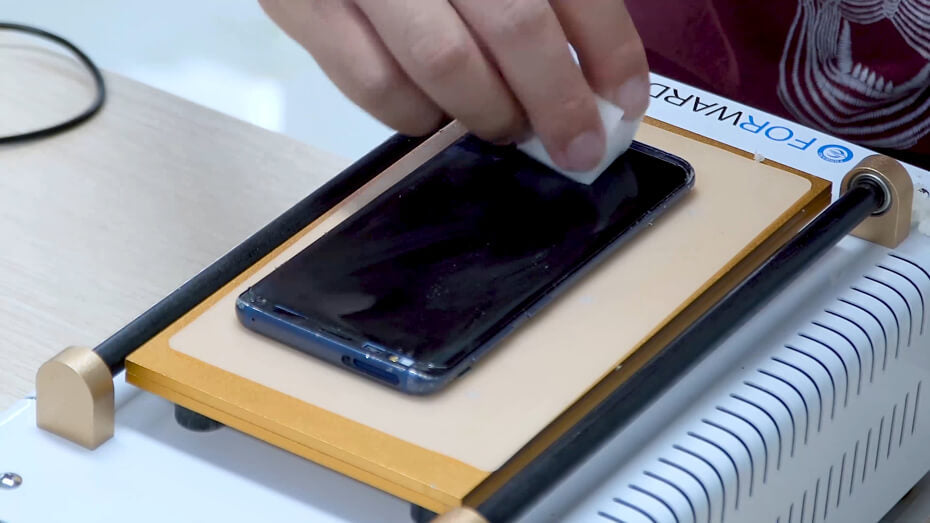
Initially, we have to use a manual separator to heat the screen so that the residual glue on the screen can be softened.

After that, we use a dustless cloth to wipe the LCD with a little glue cleanser, so it can remove the residual glue easily and efficiently.
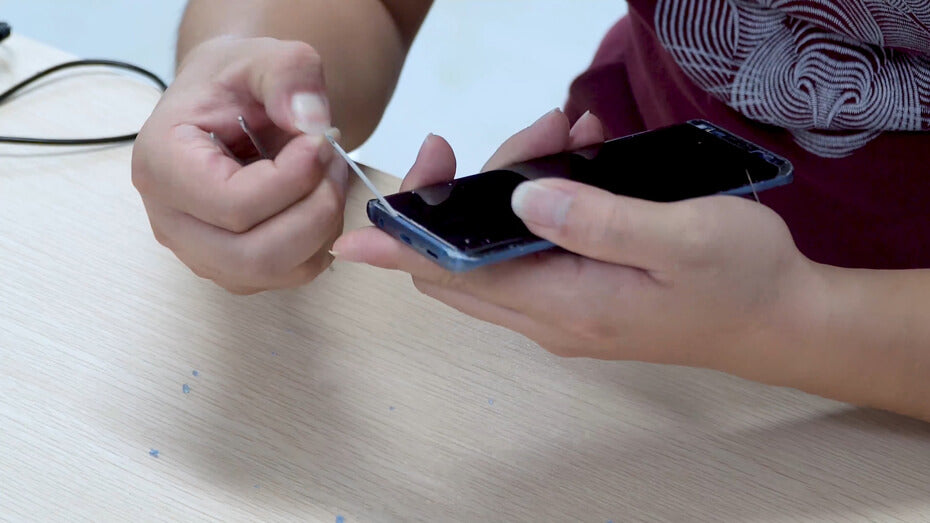
Then we should be patient and careful to use a glue remover device to remove the residual glue.
Once removed, we should clean up the LCD with white oil.
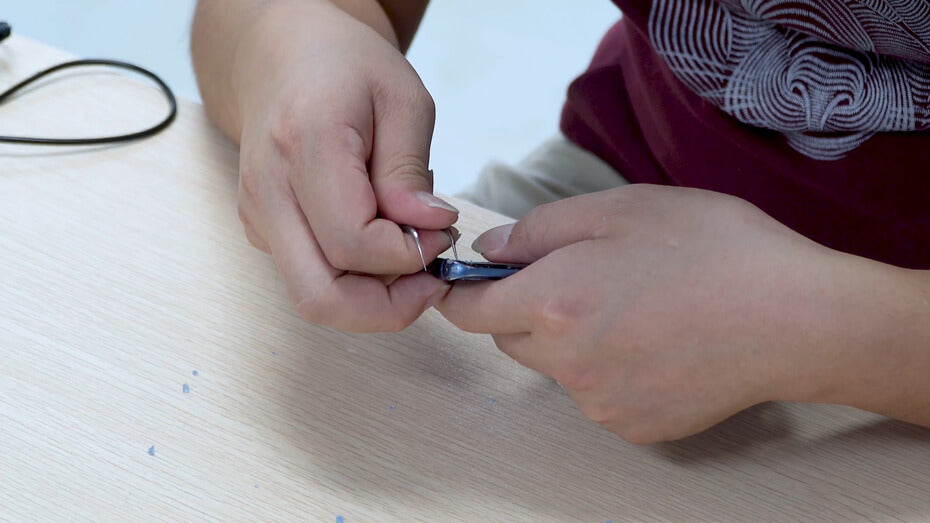
After cleaning up, we would use tweezers to dismantle the small rubber plugs at the four corners of the screen.
And then, we should tear off the light glue from both ends of the screen.
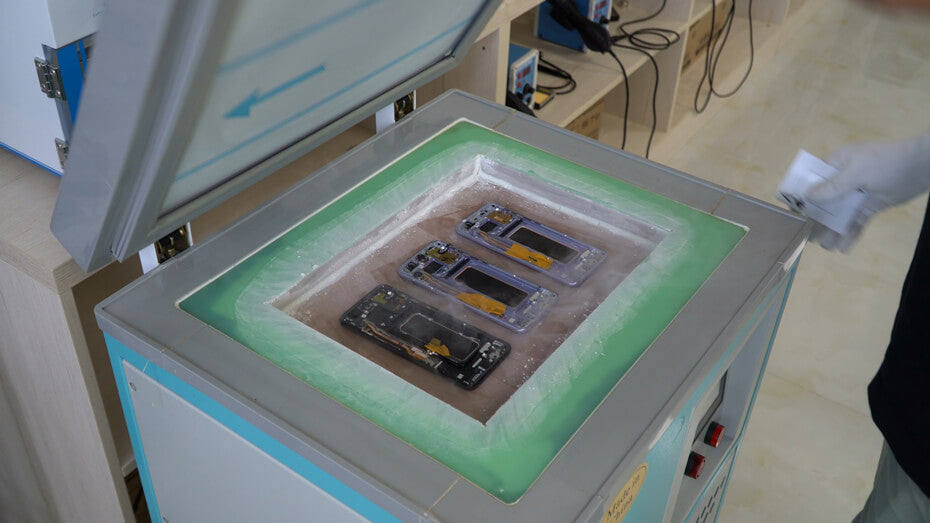
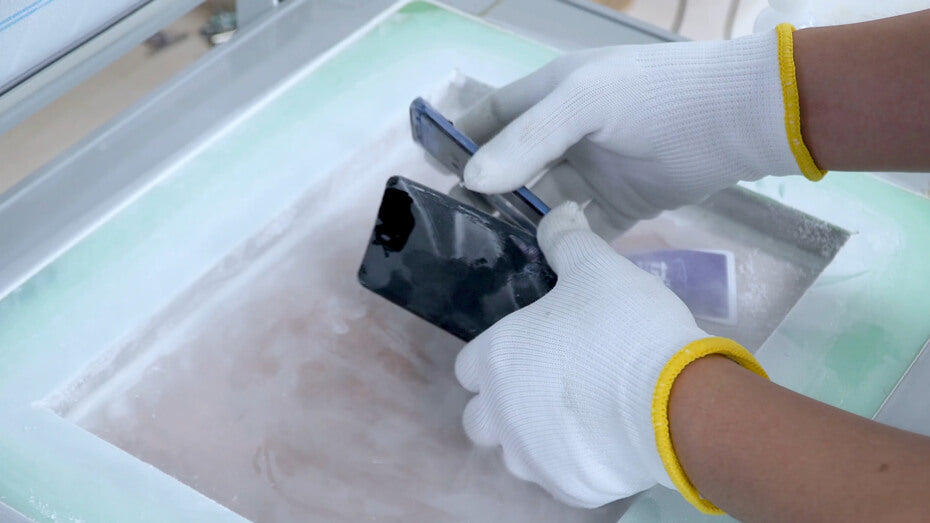
The following part is using the frozen machine to disassemble the mid-frame from the LCD.
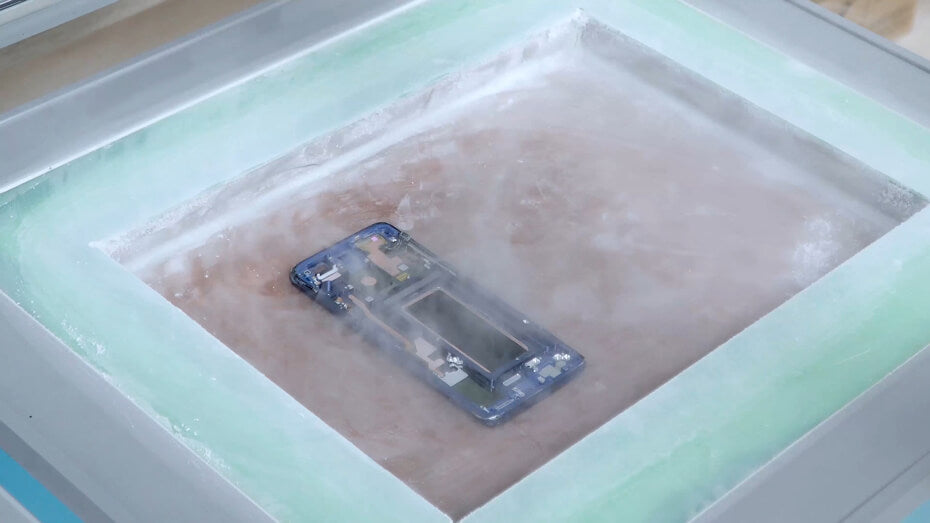
Firstly, we would place the whole screen into the working area of the frozen machine for freezing. Here it needs to take 5 minutes to freeze the screen.
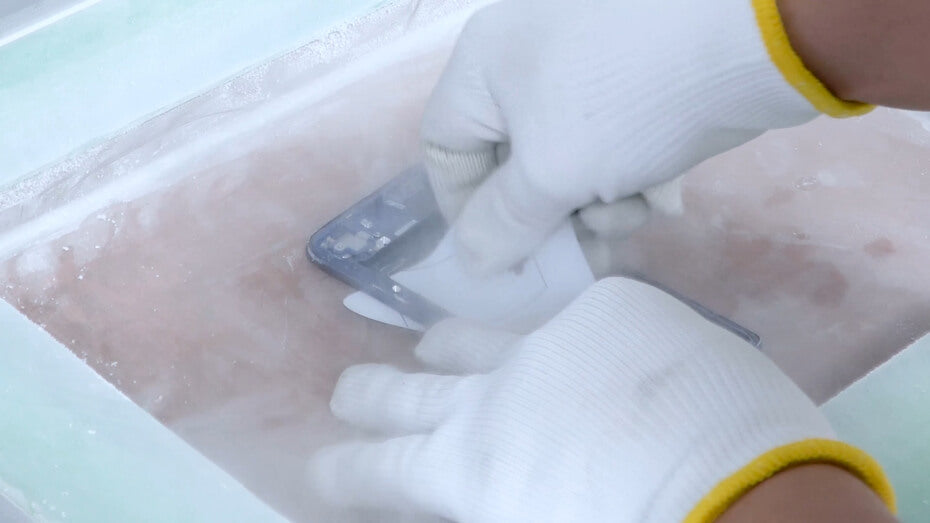
Then we can use a poker card to separate the mid-frame under the low temperature after the freezing time is up.
Warm tips: Pleaser wear the gloves to protect your hands from lower temperature when you are operating. Besides, you can add some glue cleanser to separate the mid-frame during the process.
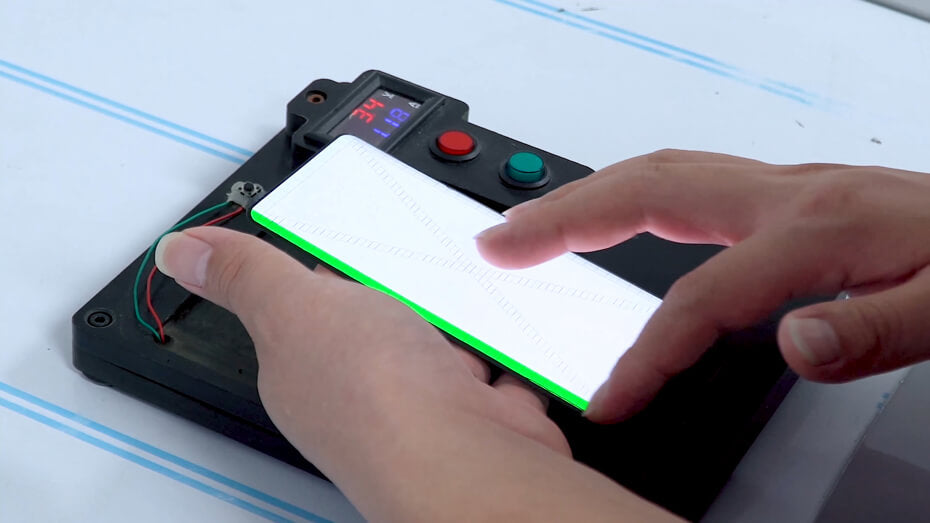
Once separated the mid-frame, we have to test the display and the touch is normal or not.
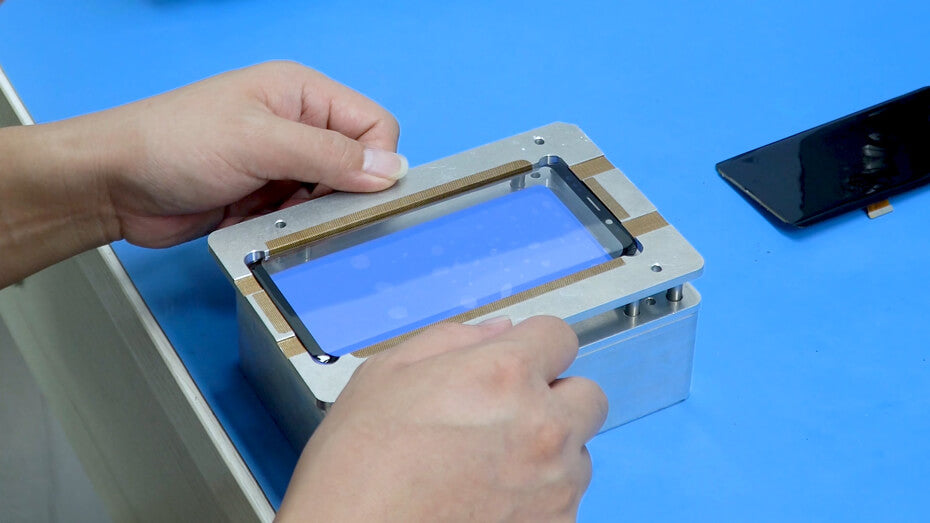
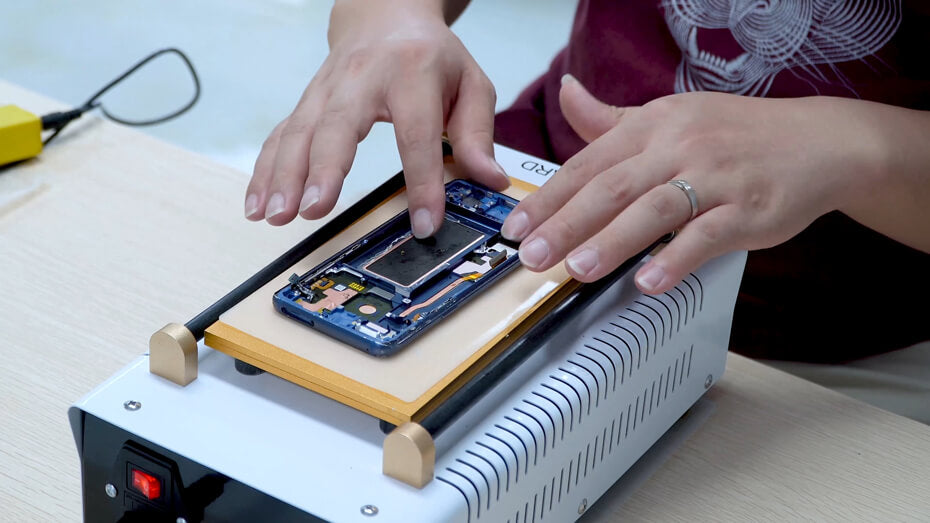
Then we would laminate a new piece of OCA to the new glass once we confirmed the test result is no problem.

In the OCA lamination part, the tools we would use are the whole set mold of model S9 and RMB-2 OCA lamination machine. It would take the 90s in this process.
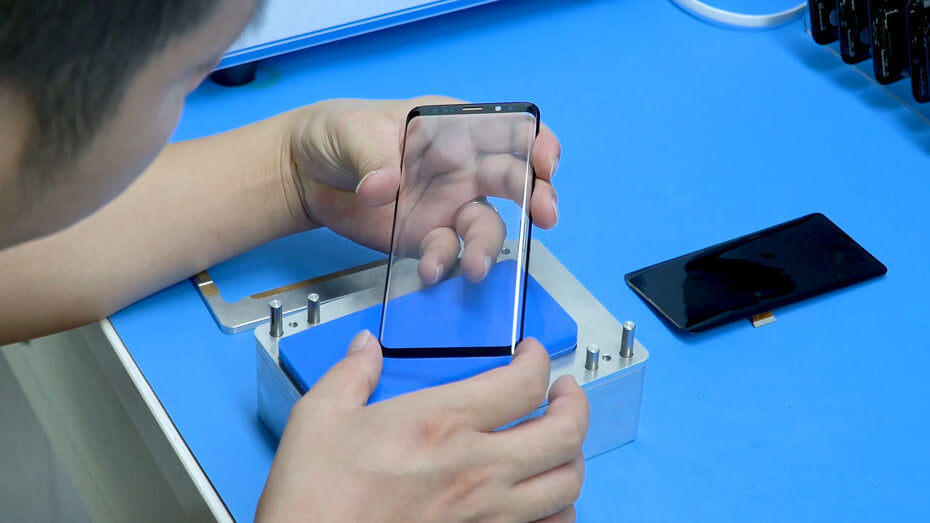
Here we can see there’s no any bubble and folds on the new glass from the below picture.
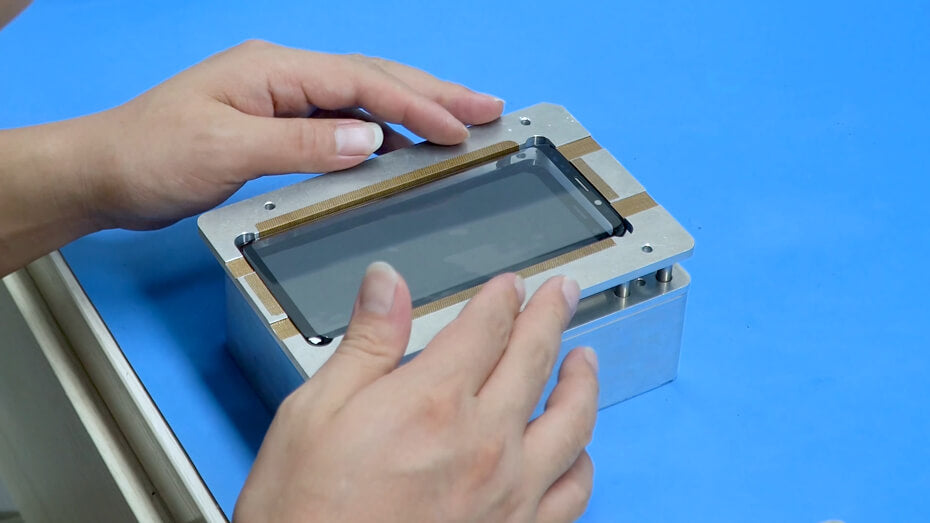
Once done, the next part is laminating the LCD.
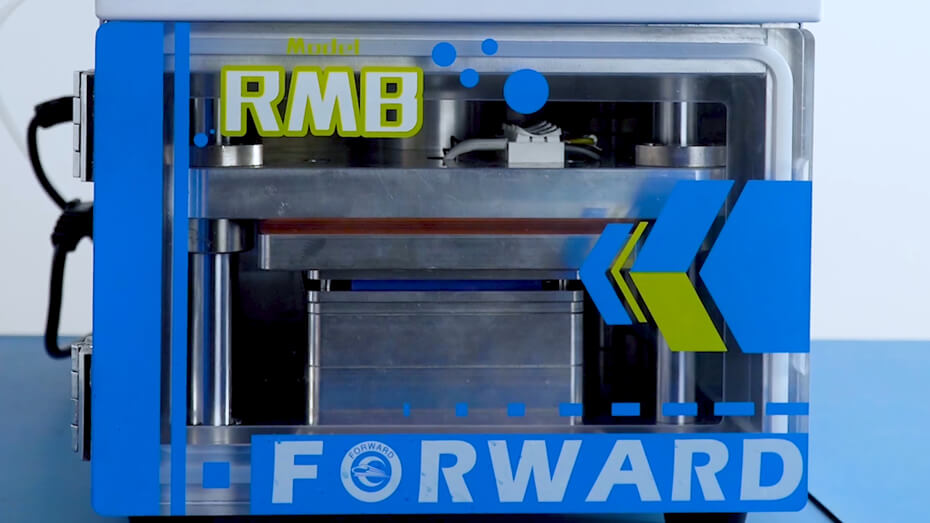
As same as above OCA lamination, we still use S9 molds and RMB-2 OCA lamination machine. And it just needs to take 90s for the OCA lamination process.
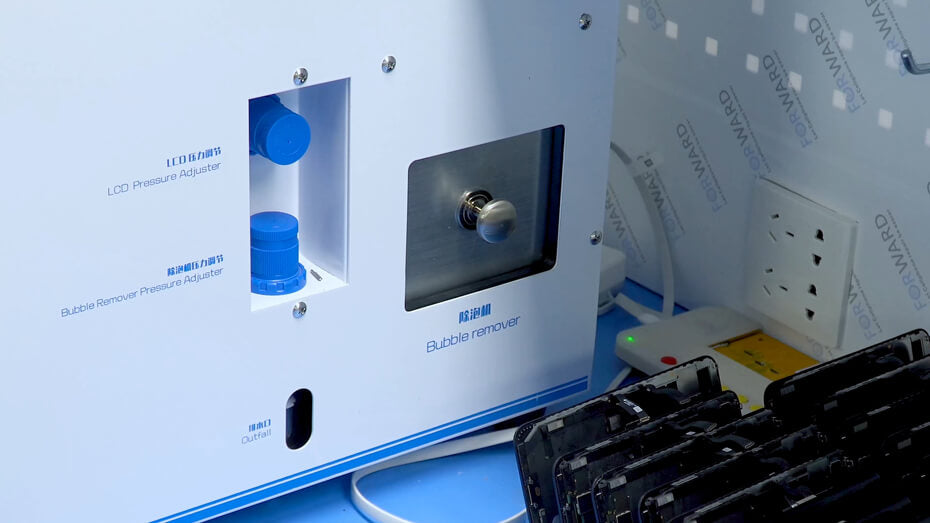
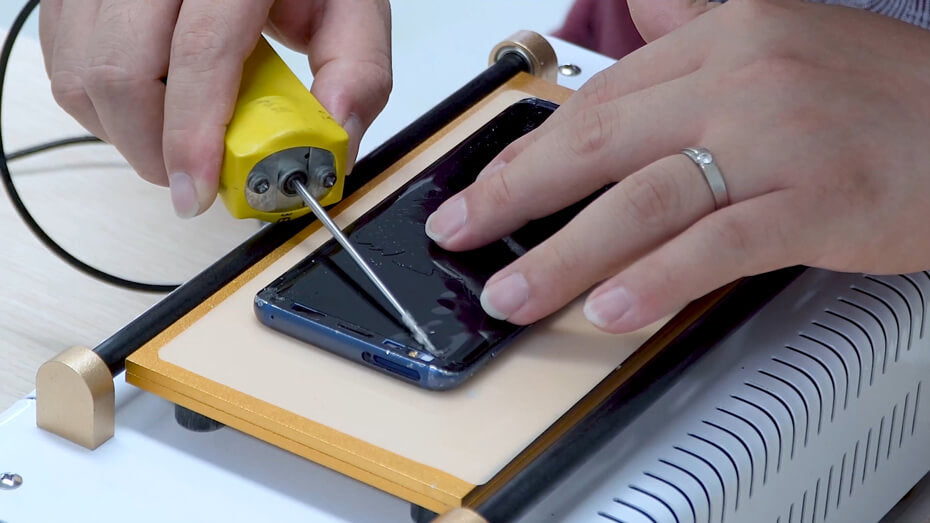
The last step is putting the screen into bubble remover to remove bubbles. It should take 5mins to remove bubbles so that we can get a perfect effect.
And the final screen lamination and bubble removing effects are super good.
I hope this guide helped show you how to repair the Samsung S9 successfully.
All right, it is finished today.
And now I’d like to share more repair tutorials: