
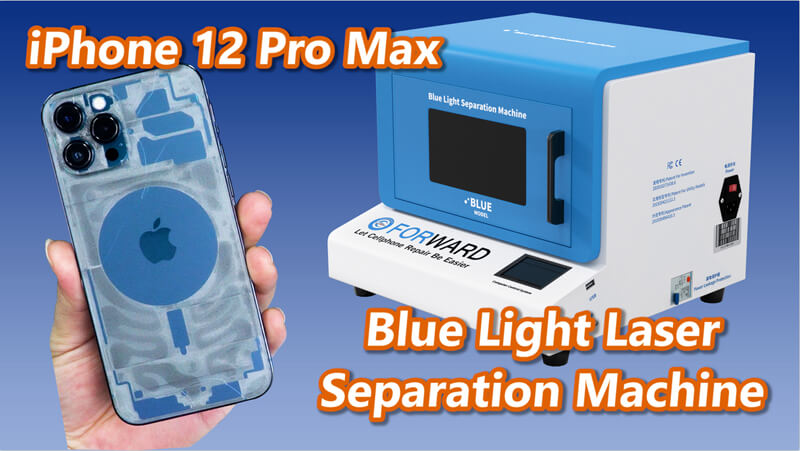
iPhone 12 Pro Max Back Glass Repair & Replacement

Forward Lab
June 21, 2022
Difficulty
★☆☆ Low
Step
7
Required Time
40 minutes
Excerpt
iPhone 12 Pro Max has been come out. The laser drawings for iPhone 12 series are added too. Let’s see how to use the Blue Light Laser Separation Machine to remove iPhone 12 Pro Max back cover glass. It’s easy and convenient.
Accessories
Blue Light Laser Separation Machine, focal length rod, shovel blade, card, diamond pen, clean sponge or brush, 8333, clean cloth, frame glue, a new back cover, LCD fixing clips
iPhone 12 Pro Max has been launched, we never stop our steps, we follow up the science trending tightly, now our Blue Light Laser Separation Machine can be used to separate the back cover glass of iPhone 12 Pro Max also.
So follow our shots to see how to use Blue Light Laser Separation Machine to remove iPhone 12 Pro Max back cover.
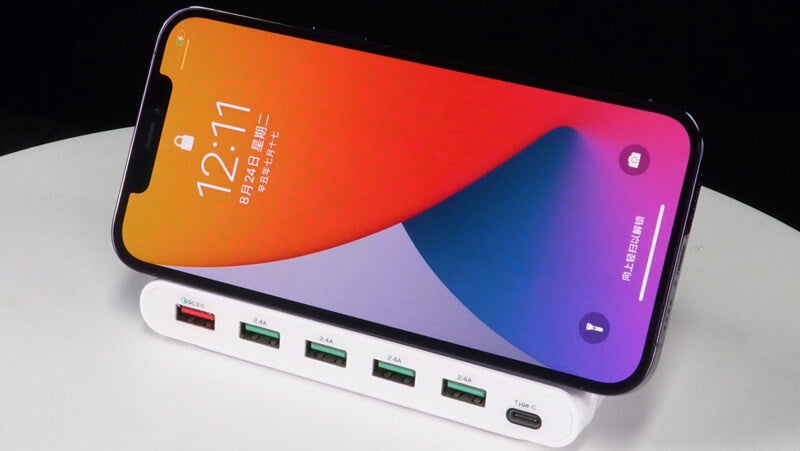
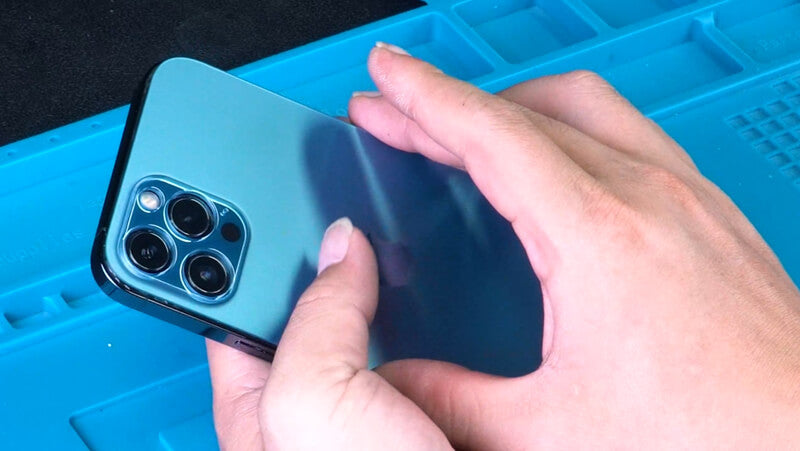
Test Phone
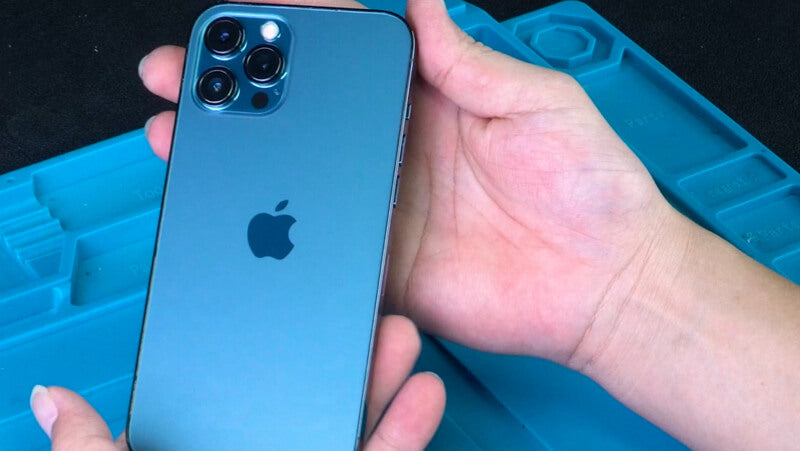
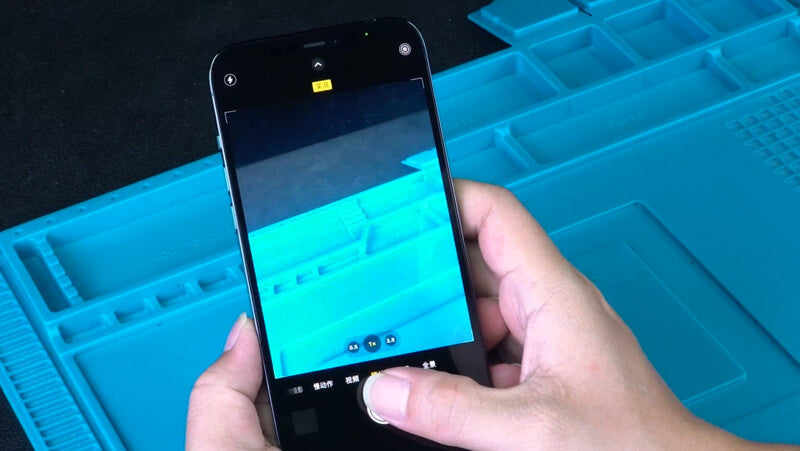
Before dismantling the phone back cover, we have to test the phone is working or not. The wireless charging and camera function are normal. Now we can continue the next.
Laser Phone’s Back Cover
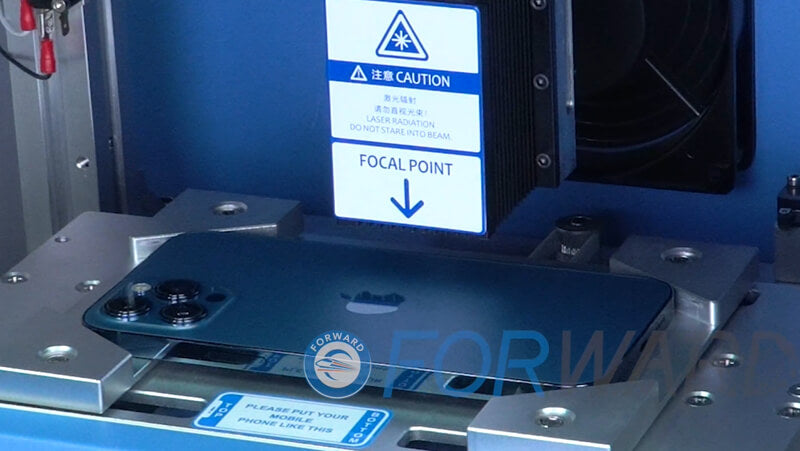
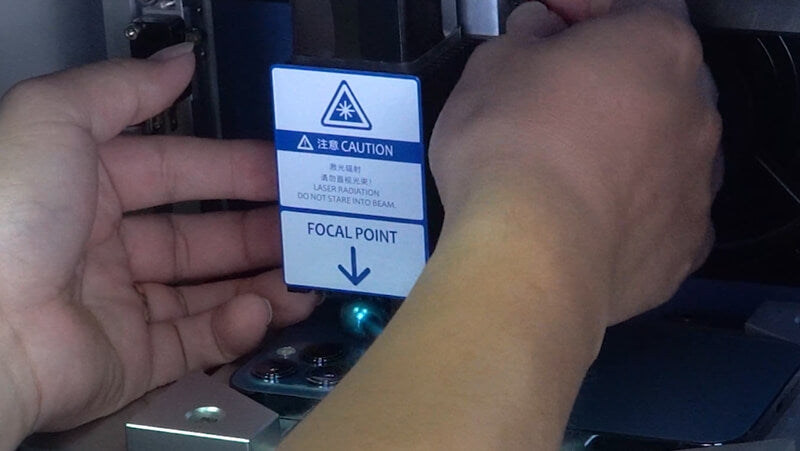
First, shut down the phone. Flat the entire phone into the positioning mold of the Blue Light Laser Separation Machine.
Here is a tips. Please place the phone in the direction indicated by the sticker.
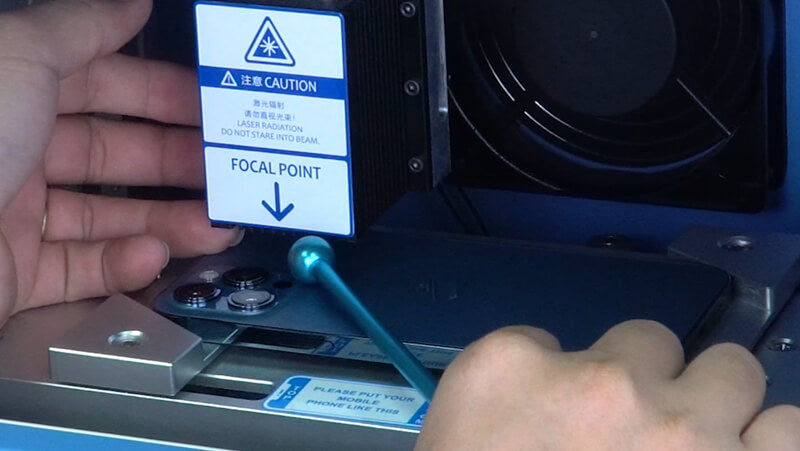
Second, once done. Move the laser head to adjust the local length.
Attention: The distance between the focal length rod and the back cover glass is the same as the diameter of the focal length rod.
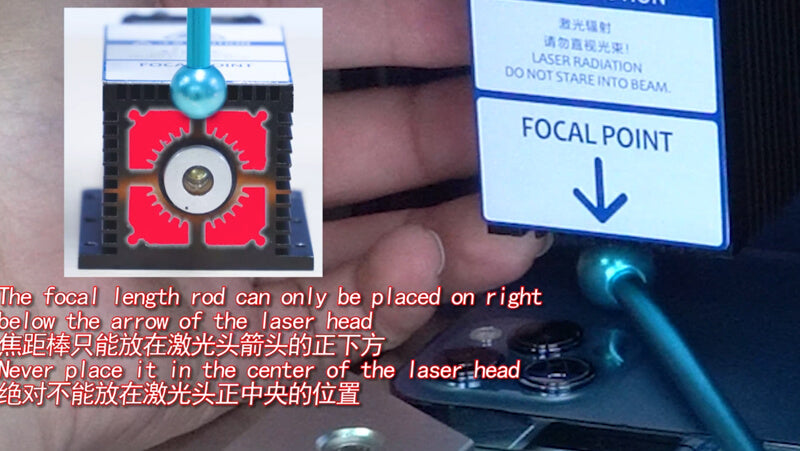
Third, holding the focal length with a focal length rod. Please note that the focal length rod can only be placed on right below the arrow of the laser head. Don’t place it in the center of the laser head.
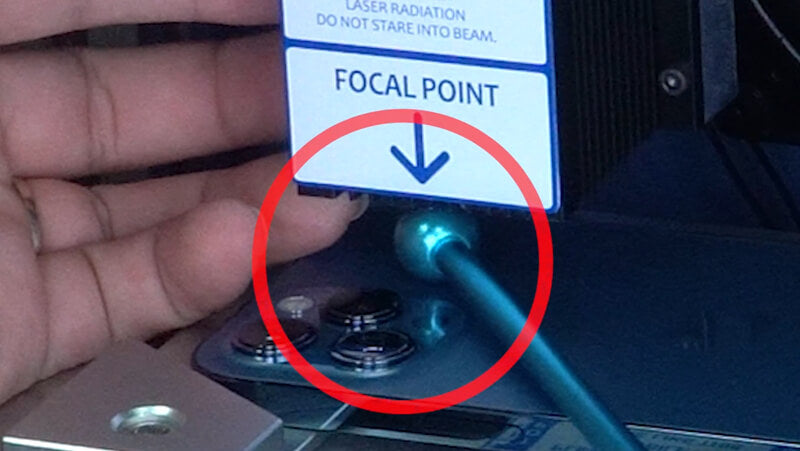
And you can’t place the focal length rod on the webcam.
After adjusting the focal length, the knob must be tightened.
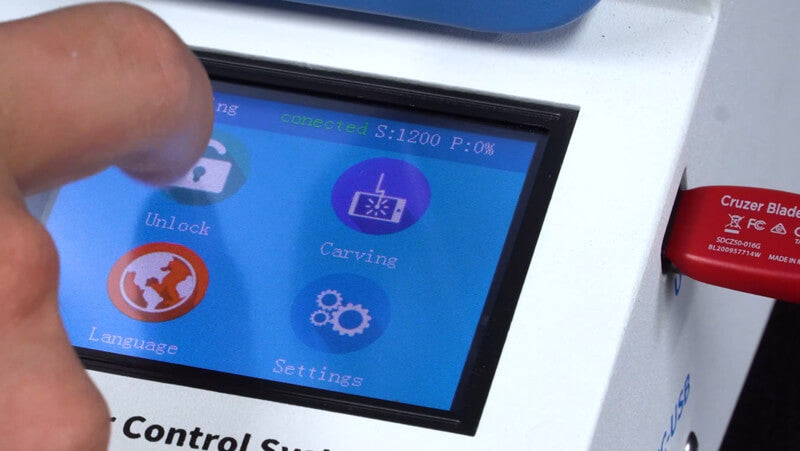
Fourth, use touch operation panel to operate the Blue Light Laser Separation Machine. It’s convenient and simple. Let’s see the detailed operation steps in following.
Click the Unlock key to unlock the keys and select Carving.
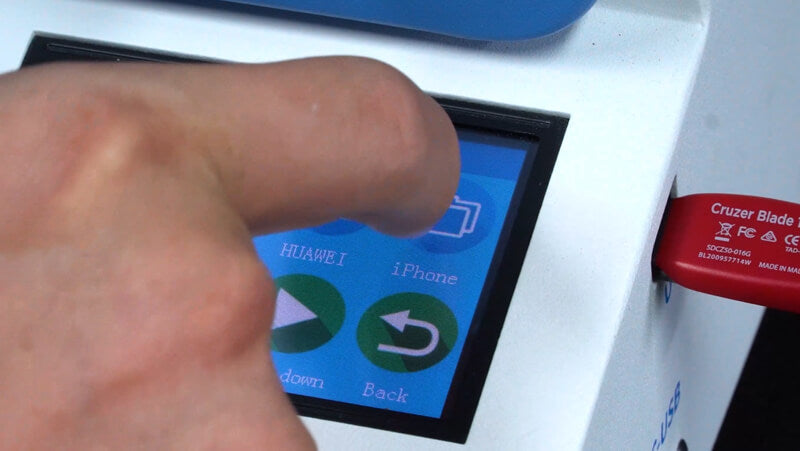
Select iPhone drawings folder.

Select Back Cover drawings folder and select Multicolour folder.
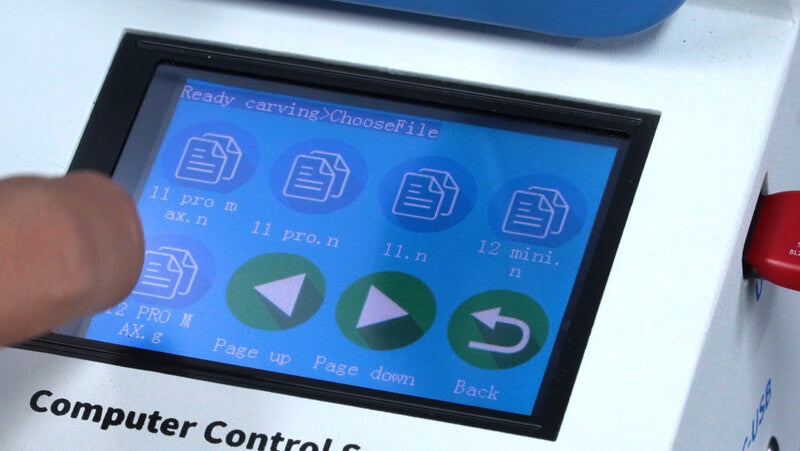
Find and click drawing 12 Pro Max.g.
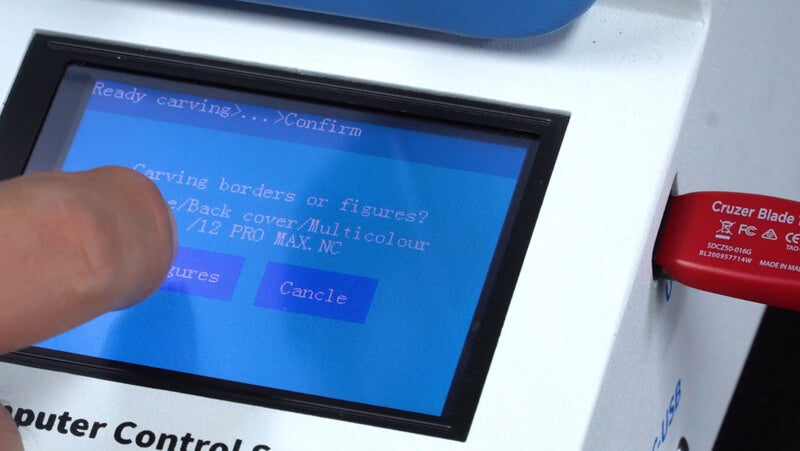
Finally, press Figures key so that the laser is starting to work.
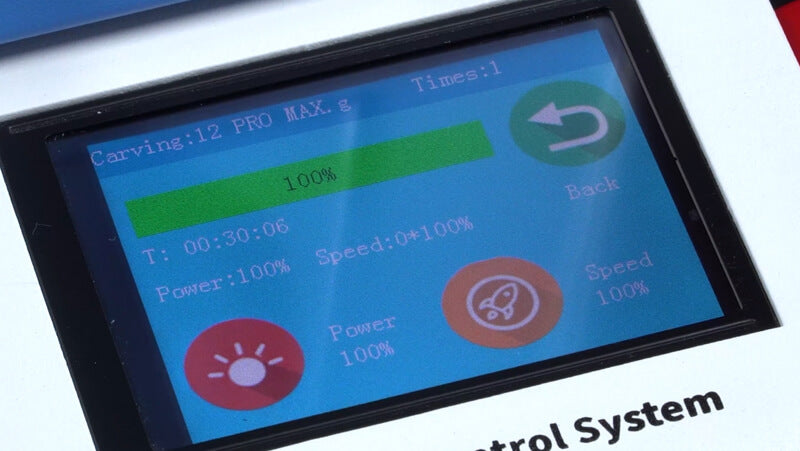
If the green progress bar shows 100%, it means the laser is done.
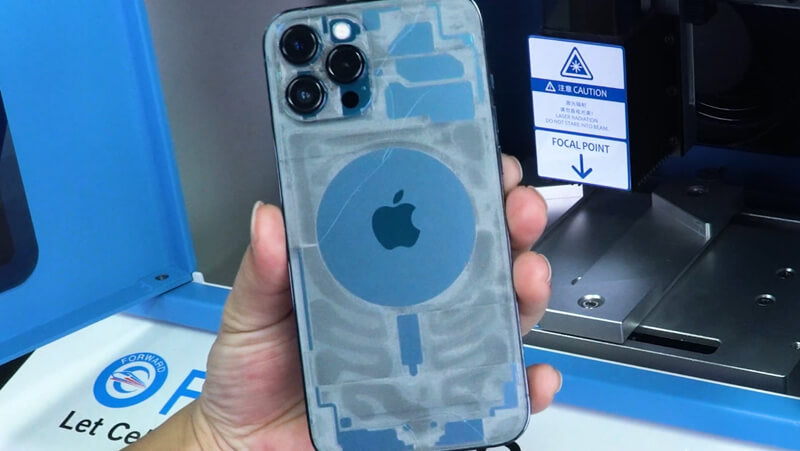
You can see the laser is perfect as long as you take out the phone after the laser is finished.
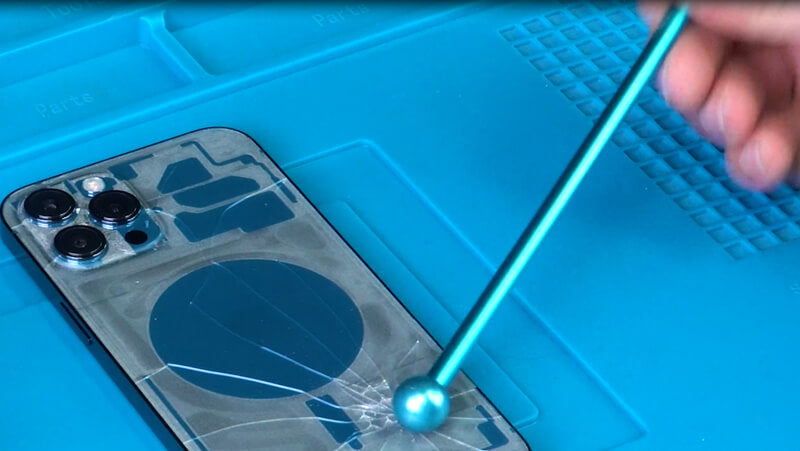
Remove Back Cover Glass
Now we can begin to remove the back cover glass after we laser the glass. You can find a large laser area and use a focal length rod to break the glass. It makes the glass be removed easily.
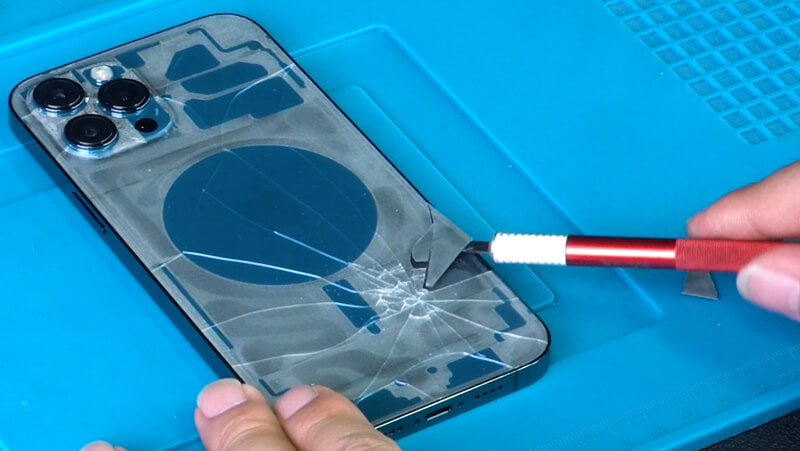
Then use a shovel blade to dismantle the back cover glass.
Warm tips: A big place without cracks can be broken with a focal length rod. It would be easier to remove.
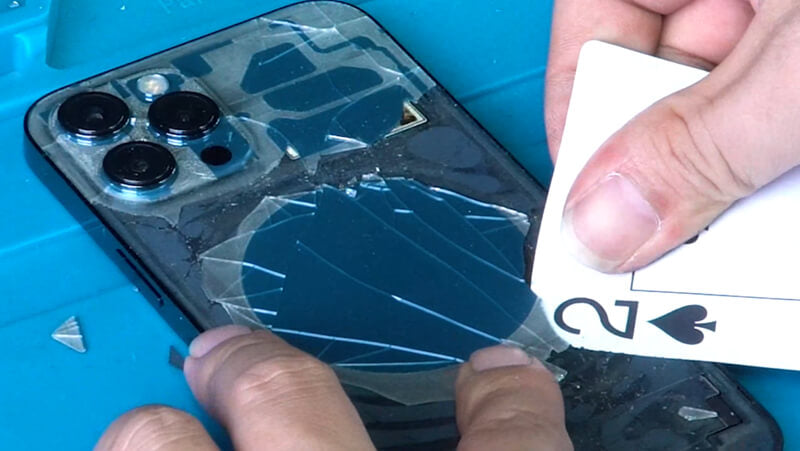
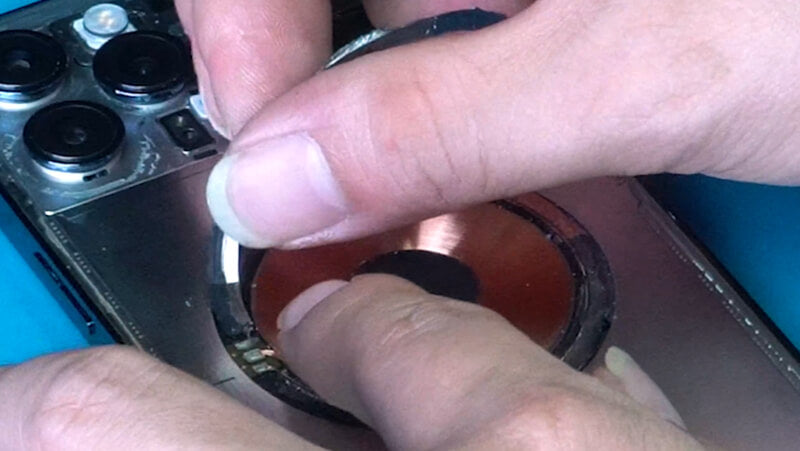
While you remove the glass, pay attention to the position of the wireless charging sensor. You had better use a card to slowly insert it between the coil and the back cover.
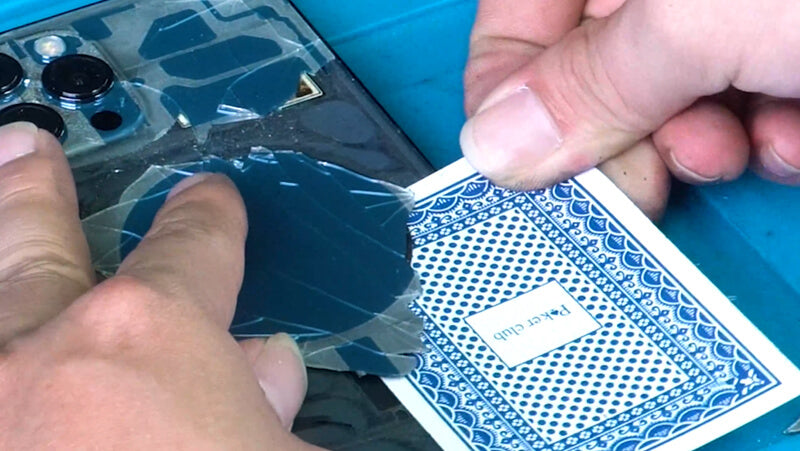
And make sure that the card is inserted between the coil and the back cover. Don’t insert the card from the bottom of the coil. Then slowly scratch the glue inside.
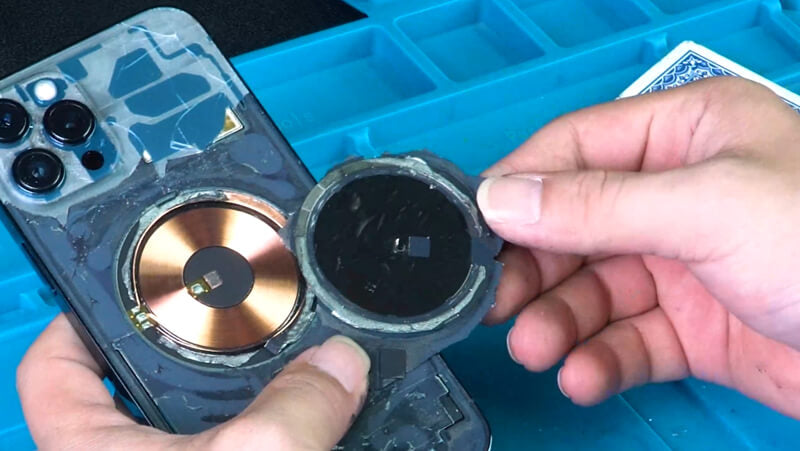
Please be noted that the removed magnet can’t be thrown away. And pay attention to the position of the signal receiver.
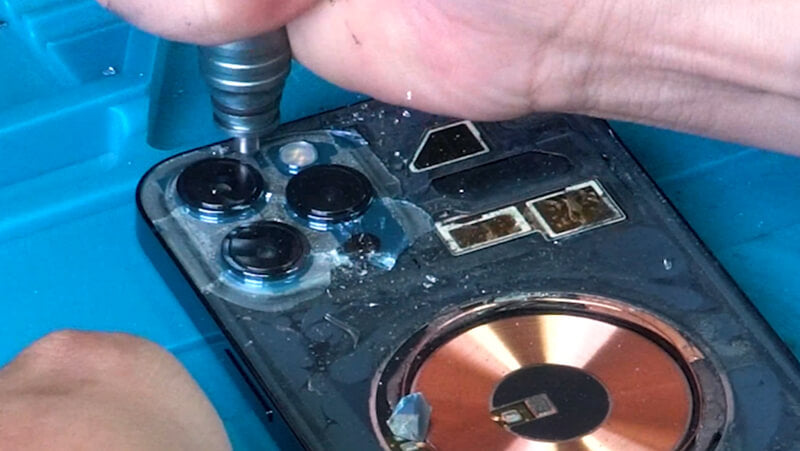
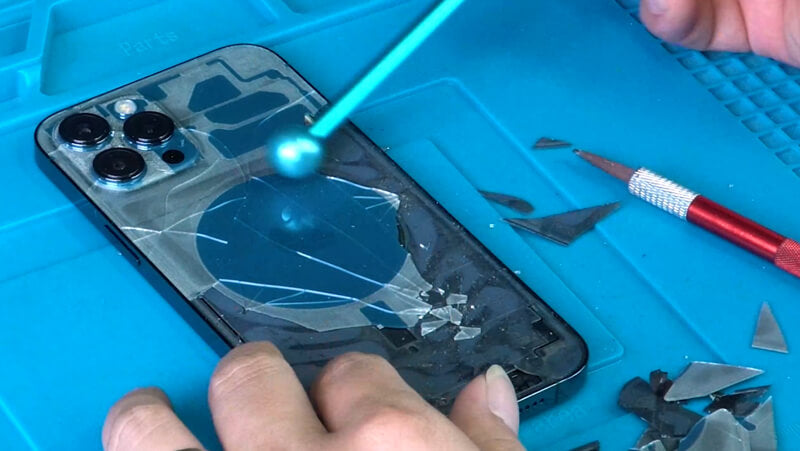
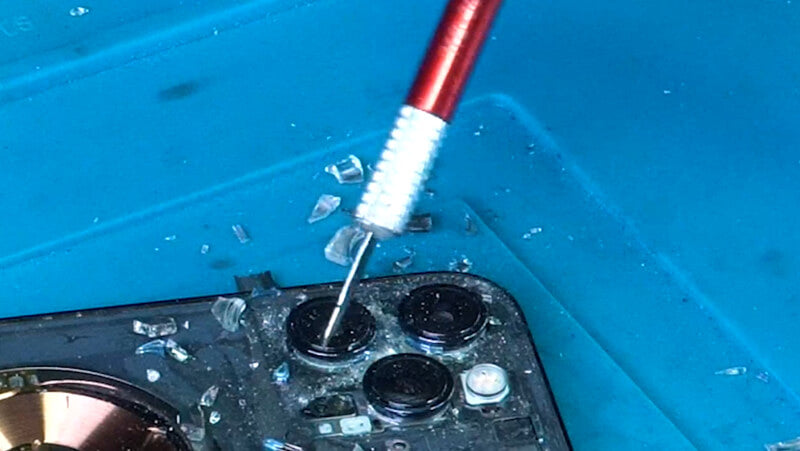
When you separate the glass at the camera position, you can use a blasting pen, a diamond pen or a cutting device to make that position into small pieces of broken glass because the glass here is relatively thick.
After that, we use a shovel blade to dismantle the glass. The small glass can’t fall into the microphone position.
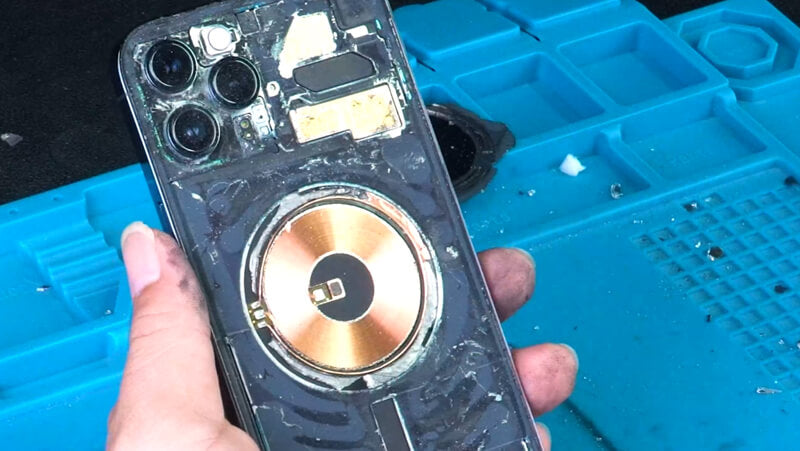
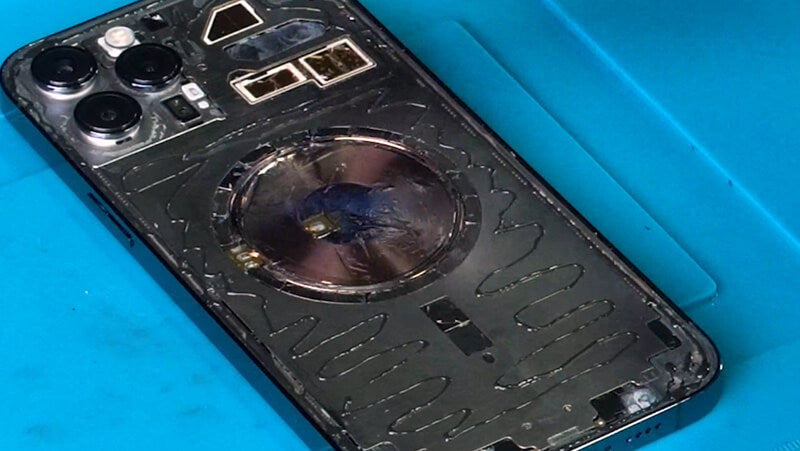
OK. The back cover glass removal is completed.
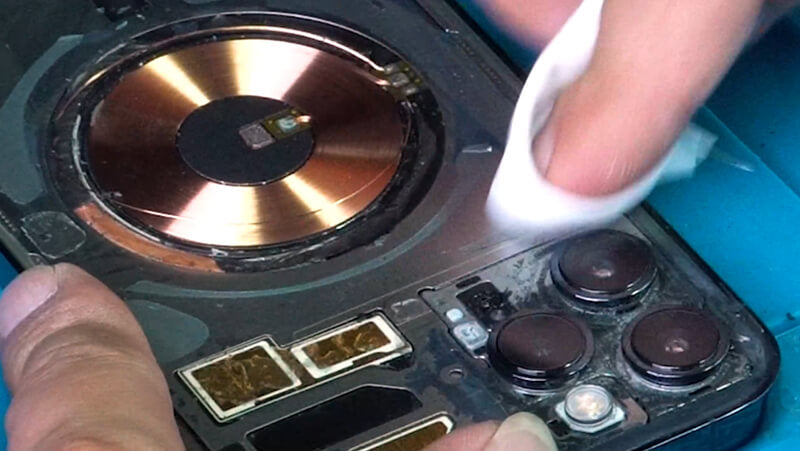
Do The Cleaning
After we remove the back glass, we use a clean sponge or brush to wipe off the smash glass gently. We can use 8333 and clean cloth to remove the glue.
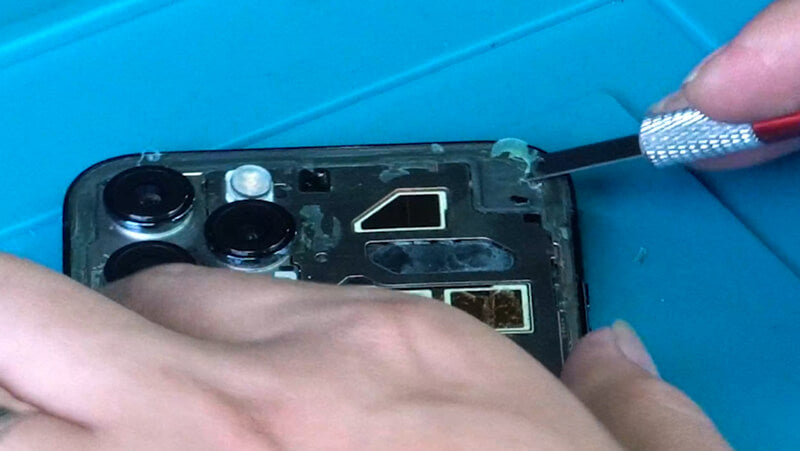
Besides, we can use a shovel blade to remove the glue on the edges of the phone.
Install Wireless Charging Sensor
After cleaning, we have to install the coil of the wireless charging sensor and its magnet back to the original position with the glue.
Replace A New Back Cover
After finishing the above operations, we replace a new back cover of the phone.
First, we evenly apply the frame glue on the back of the phone.
Second, we install the back cover on the phone. Here we should pay attention to align the holes.
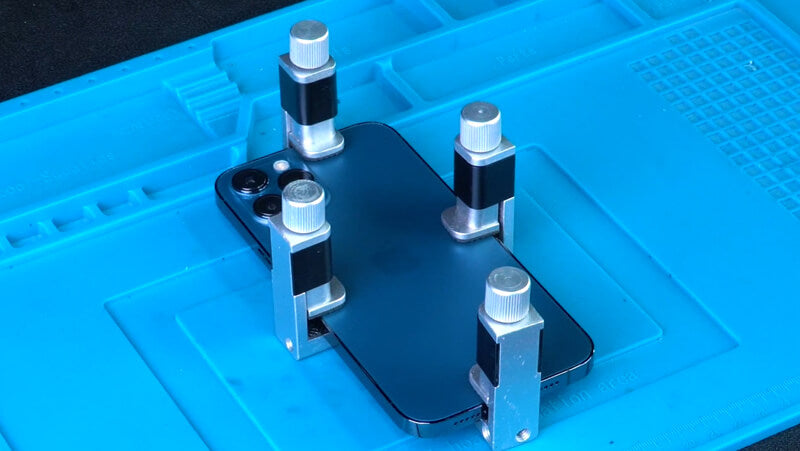
Third, fix the phone with LCD fixing clips and clamp it. The phone needs to take about 30 minutes to do the pressure holding.
Once done, remove the LCD fixing clips. You can see there’s no dust on the camera, the back cover fits perfectly without any gaps. The repair effect is excellent.
Test Phone Again
When we complete the back cover replacement. We should do the phone test again to make sure the phone is working normally. The wireless charging and camera function are no problem.
That’s all the operation for the iPhone 12 Pro Max Back Cover replacement. From it, you can know that it’s really easy and convenient to use Blue Light Laser Separation Machine to remove the back cover glass of iPhone. It can improve your repair efficiency and success rate. This machine is a good helper for mobile phone refurbish business. So, don’t miss it.
I want to buy forward machine for IPhone back glass replacement
I want to buy forward machine for IPhone back glass replacement
Hi there, yup this post is truly fastidious and I have learned lot of things from it about blogging.
thanks.