
How to Repair iPhone X Touch —— OCA Lamination Machine Tutorials

Forward Lab
June 21, 2022
Difficulty
★☆☆ Low
Step
11
Required Time
10 minutes
Excerpt
Let’s see how to use RMB-2 OCA laminating machine to repair iphone X touch glass. It’s simple and needn’t worry don’t know how to use the machine. A good helper for repairing cracked mobile phone screens.
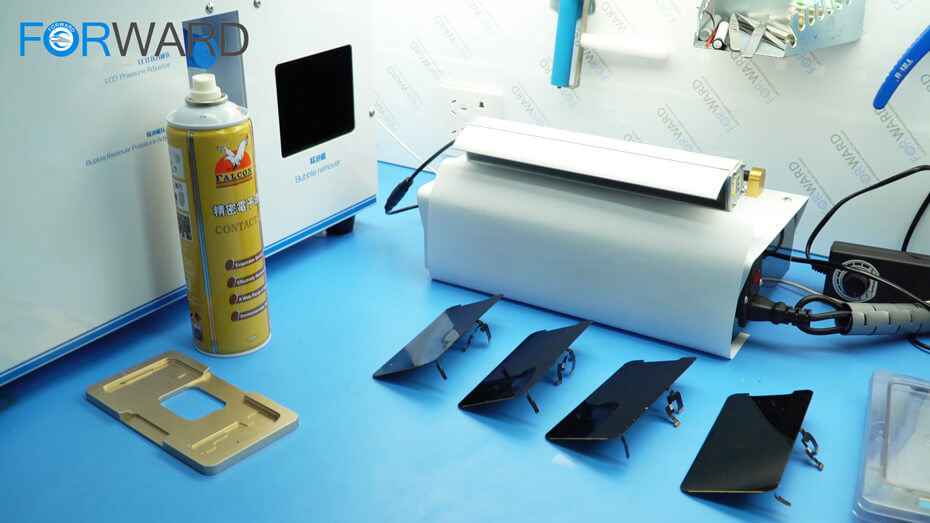
Accessories
universal laminating mold, RMB-2 OCA lamination machine, iPhone X special base, new touch glass, new touch cable, soldering iron, test panel
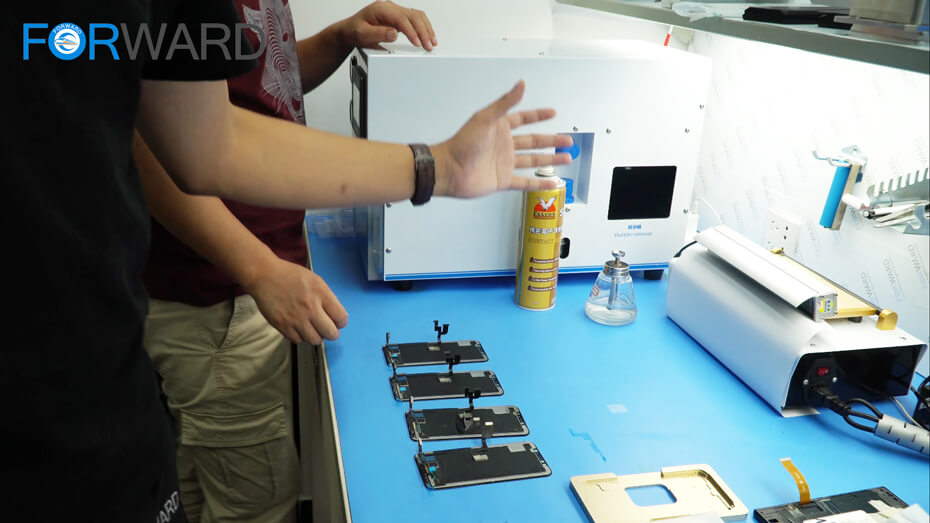
Hello everybody! Now we are in the FORWARD repair working room. You can get OCA Lamination Machine Tutorials here for your reference. Today our task is to finish laminating four iPhone X LCDs. The problem for these four LCDs is the touch screen is not to display and the touch is unwork, so how can we repair them?
Now let’s see how to do that.
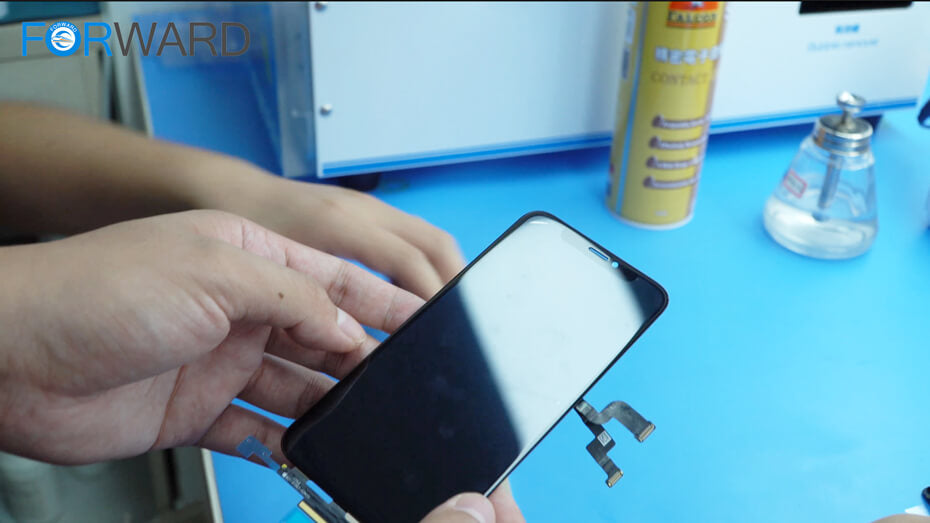
Our engineer has removed their touch screens from the LCDs and stuck the OCA to the new touch screens by FORWARD’s universal laminating mold and RMB-2 OCA lamination machine in advance.
The next part is laminating a new touch screen to the LCD.
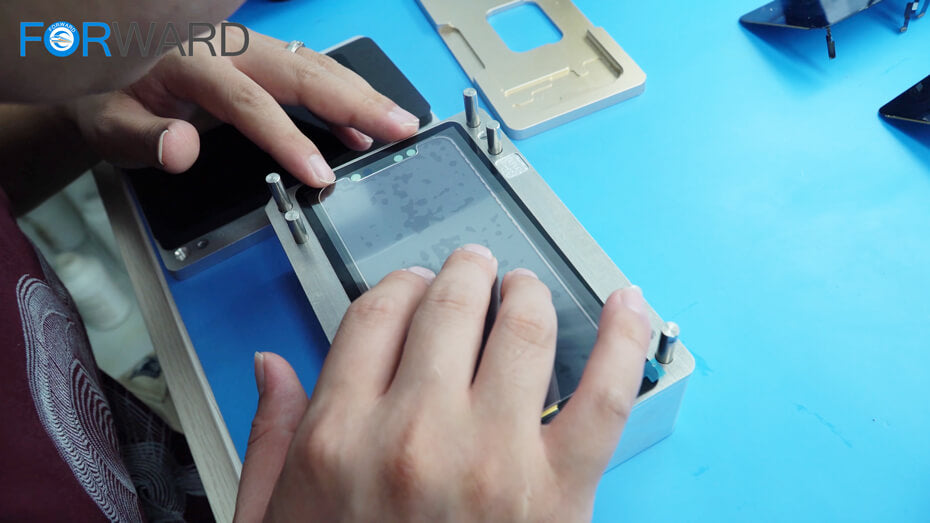
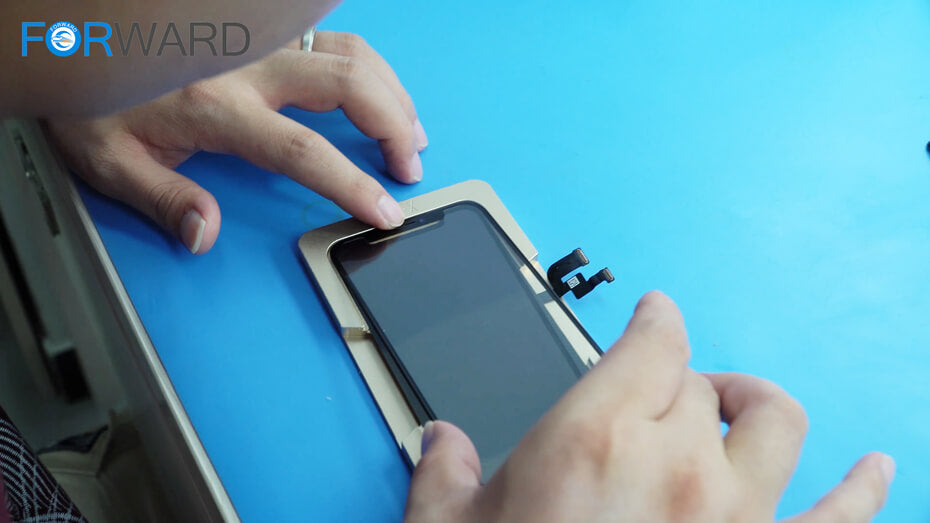
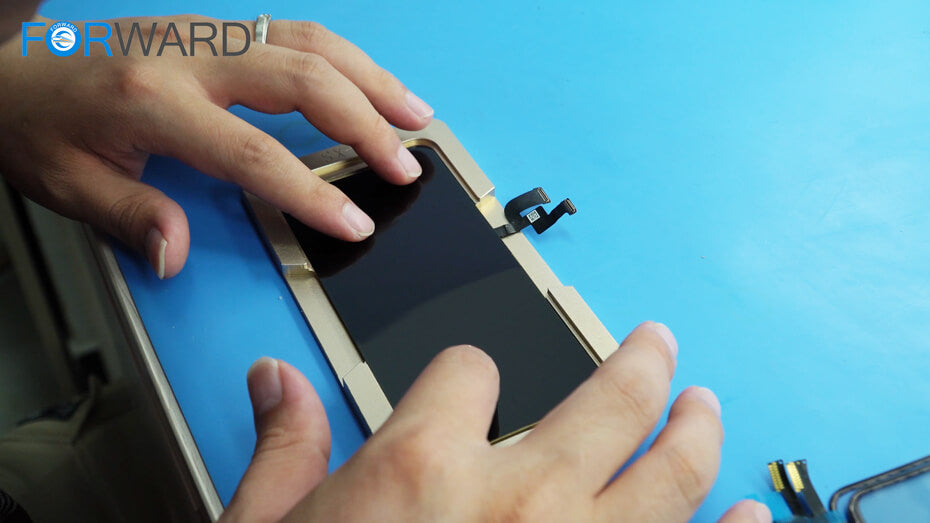
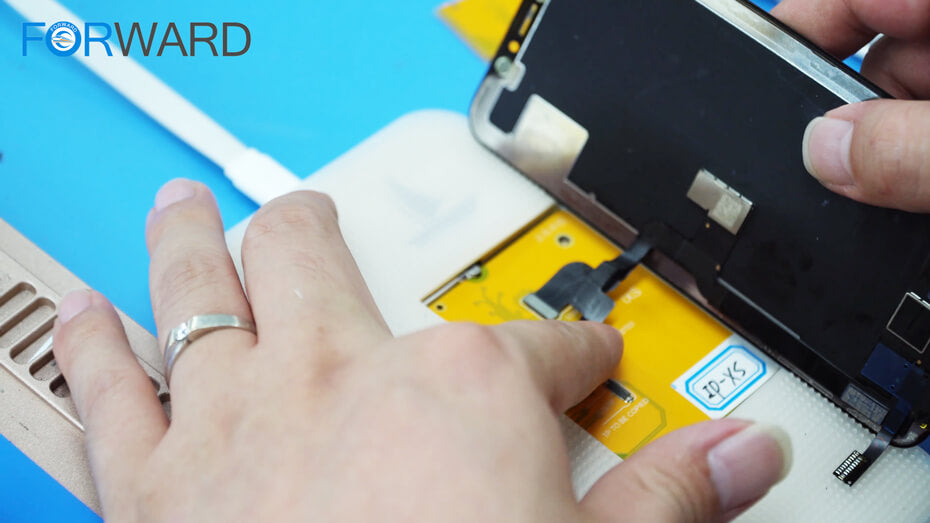
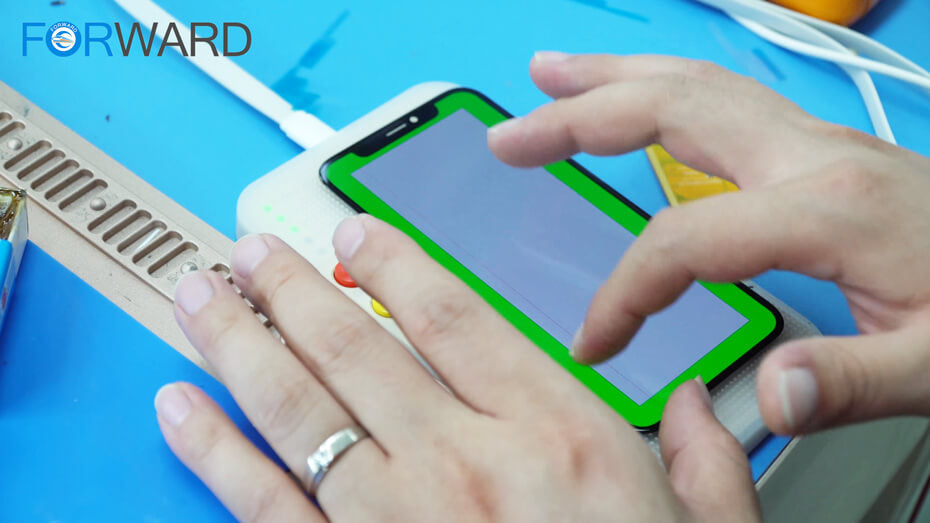
At first, we would align the touch screen to the LCD by using FORWARD’s iPhone X special base.
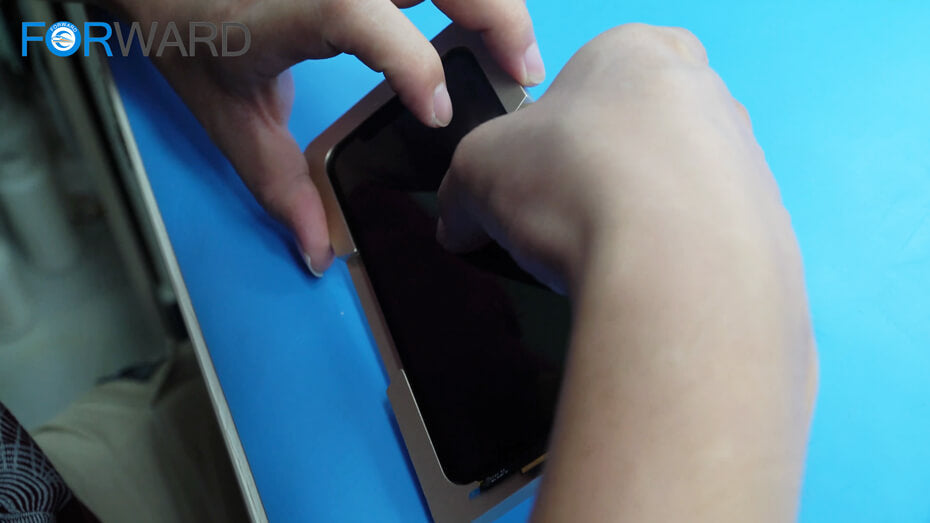
In the positioning, it is a last but very important step is we need to click the middle of the screen gently with two fingers to make the touch and LCD do a preliminary lamination and then fix the position.
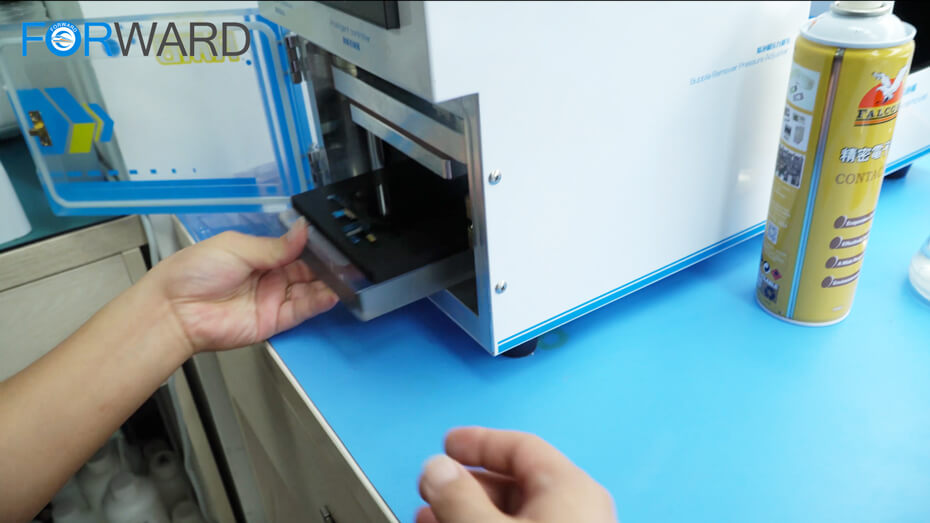
After that, we put the screen into RMB-2 laminating machine for bonding.
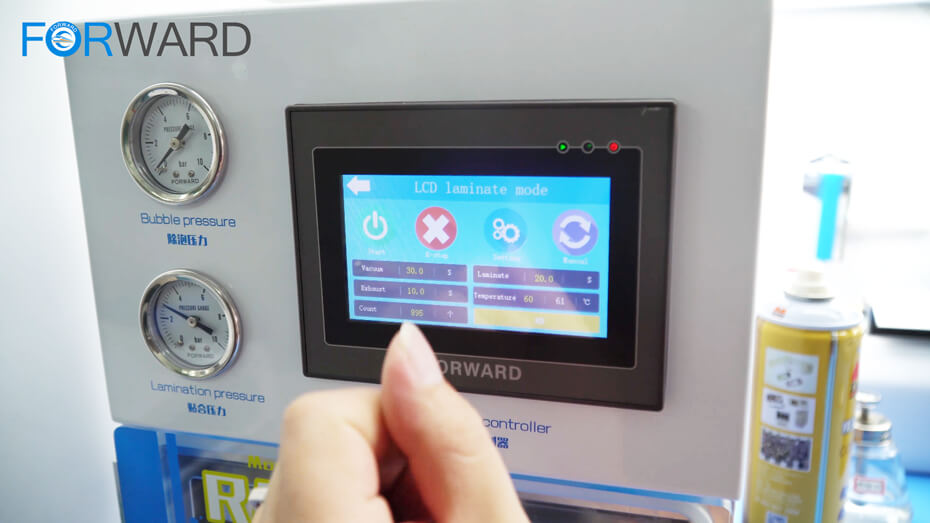
For this lamination, we select the LCD laminating mode.
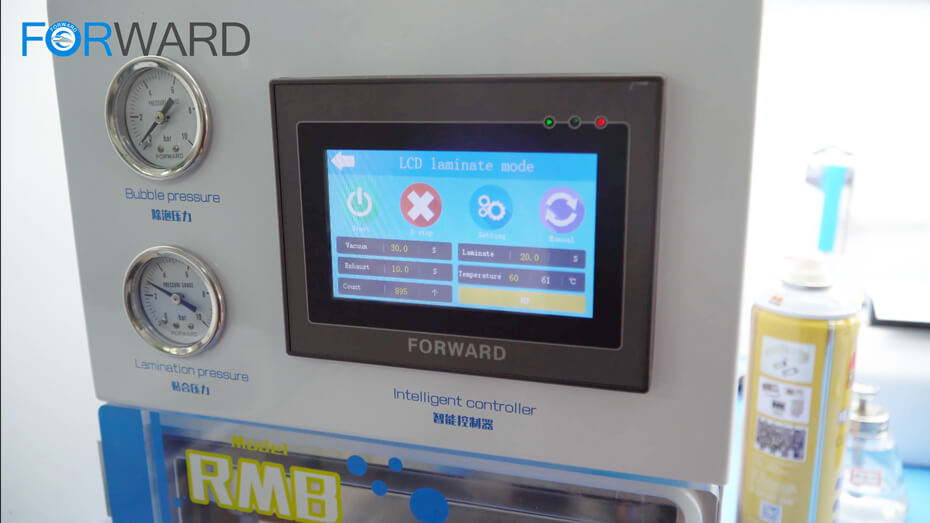
The vacuum time we set is 30s and the lamination time is 20s, the time for the whole process is about 50s.
While we wait for this laminating process, we can do the second lamination directly. The operation is the same as last one.
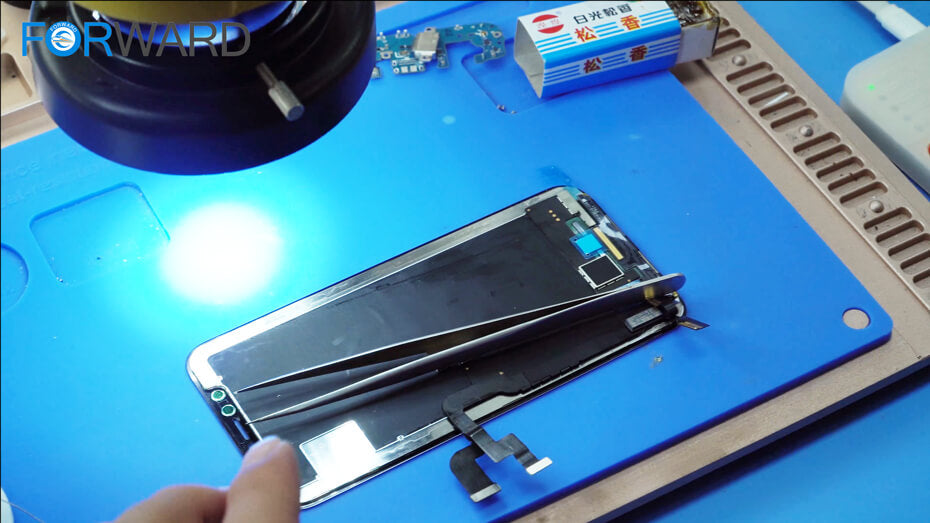
Time’s up! We take the screen out. Here we can see except for the left upper corner has a few bubble, the other place is almost no bubble. Its effect looks perfect.
After the lamination, the next part we need to do is change the touch cable.

The first thing we have to do is remove the original touch cable by using soldering iron and clean up the residual part.
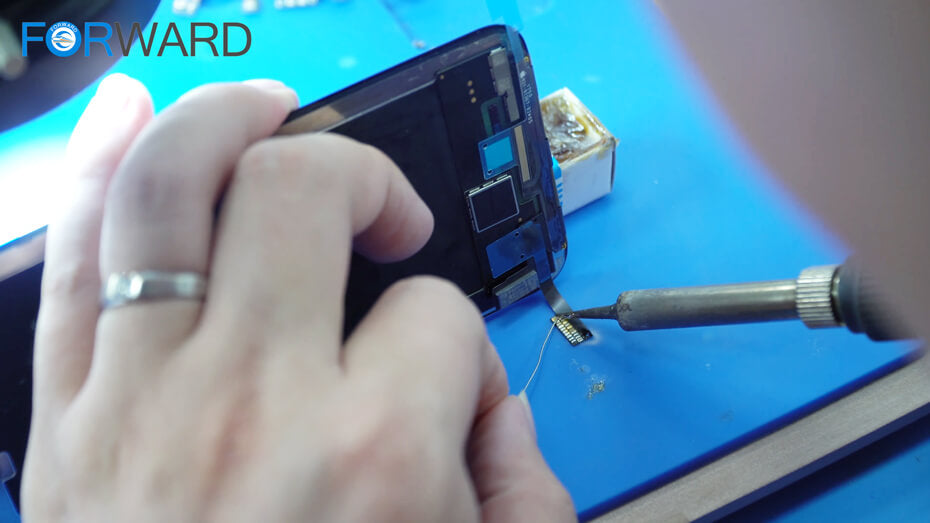
Then we plug a new connection cable with tin by using soldering iron again.
We can test the effect once the touch cable and the LCD have been connected.
The test result is that the touch and the display are normal now after the restore.
In the last step, we will put these screens into the machine for bubble removing.
So today’s task is finished and the result is great.
If you have any problem, please contact with us directly.
Thank you for your read.